Rack Compatibility
This section provides rack compatibility details for the Cisco NCS 1014.


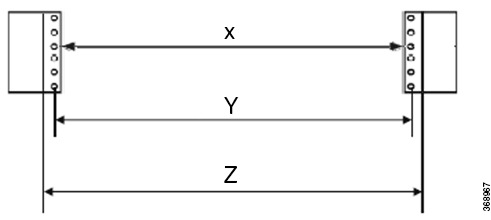
|
Rack Type |
Rack Front Opening X |
Rack Mounting Hole Center-Center Y |
Mounting Flange Dimension Z |
|---|---|---|---|
|
19" racks |
450.8mm (17.75") |
465mm (18.312") |
482.6mm (19") |
|
23" racks |
552.45mm (21.75") |
566.7mm (22.312") |
584.2mm (23") |
|
ETSI racks |
500.0mm(19.68") |
515.0mm(20.276") |
533.4mm(21") |
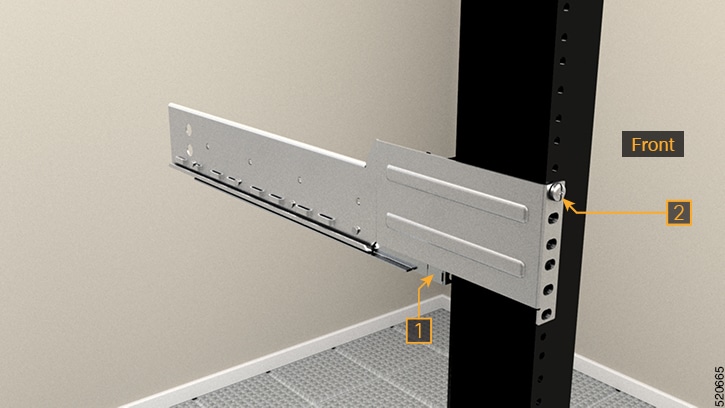
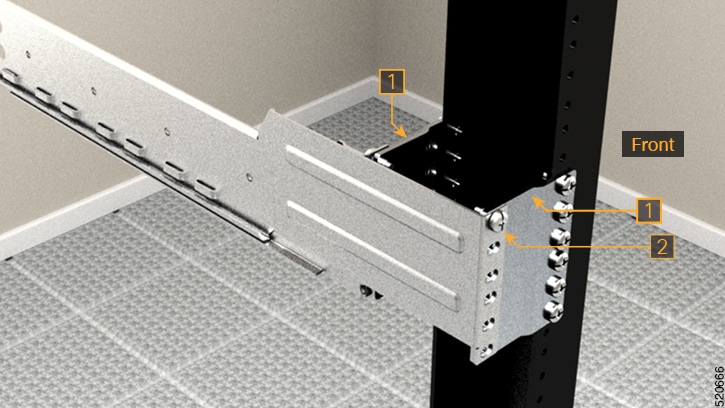
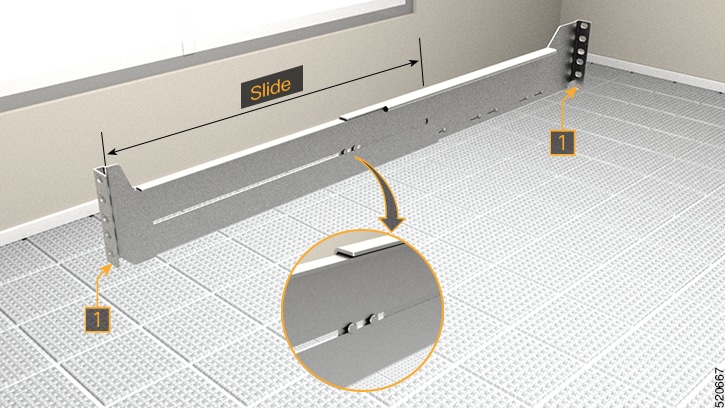
 Note |
The distance between the front and the rear post in a four post rack is 427 mm (closed position) and 707 mm (open position). |


 Feedback