Cisco Optical Site Manager Setup

This chapter covers the tasks for configuring the Cisco Optical Site Manager's timezone and node information. Additionally, you'll learn how to view diagnostic and audit logs, as well as configure smart licensing.

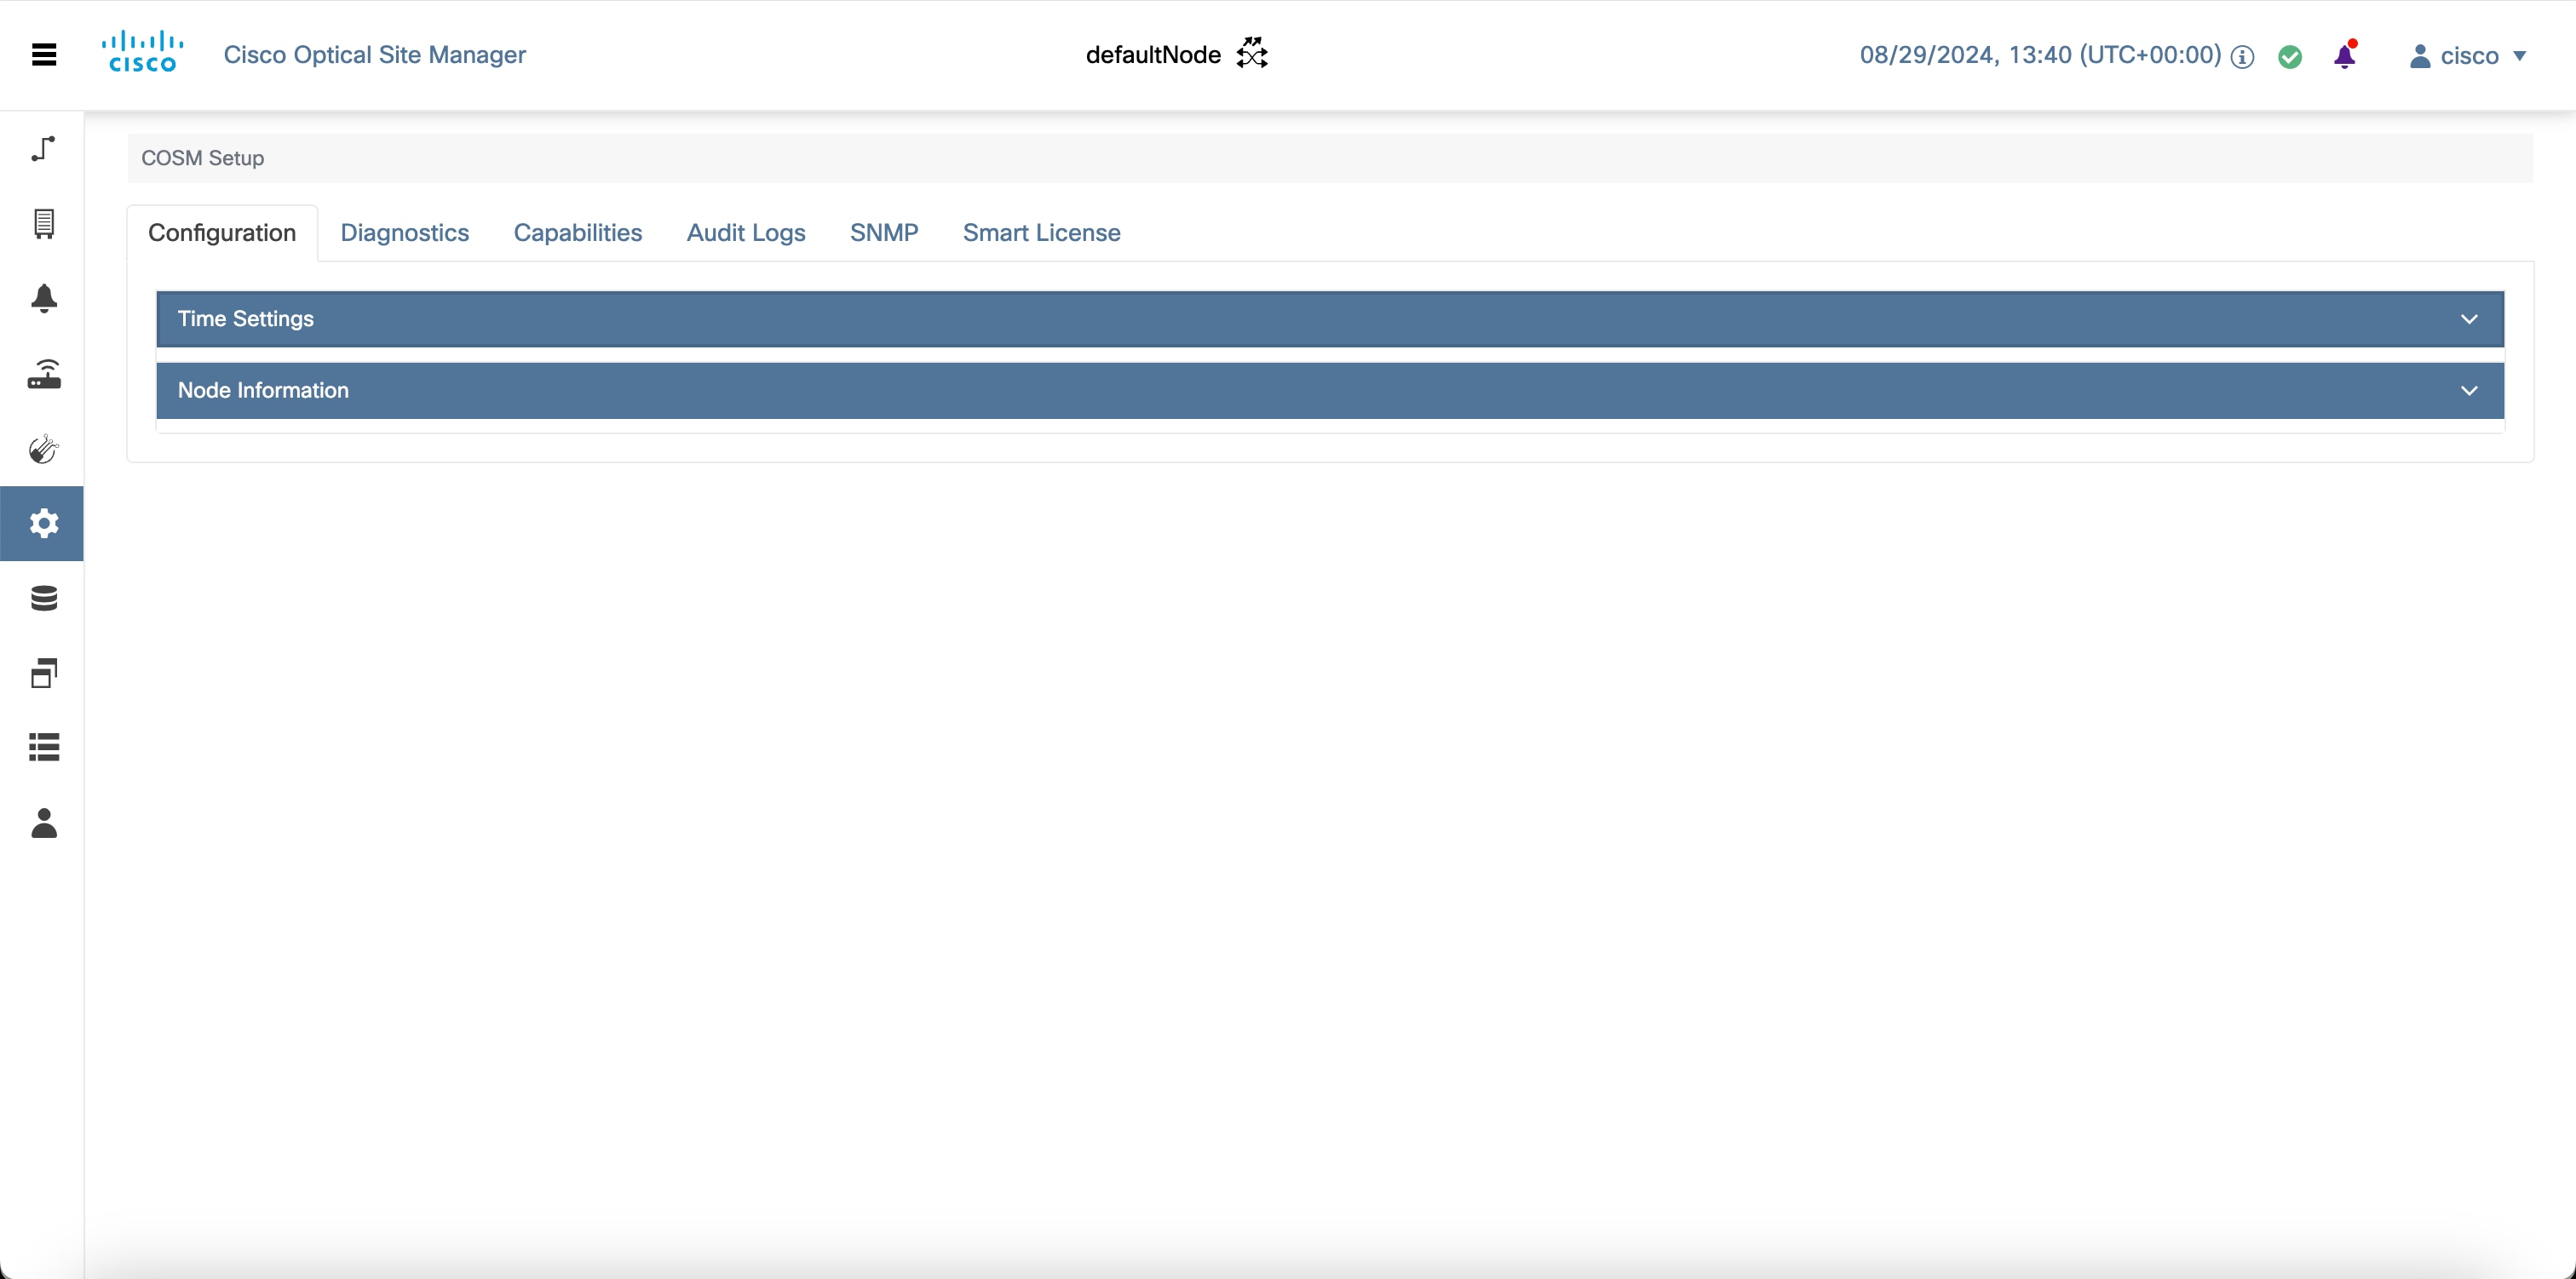
Figure 1. Cisco Optical Site Manager Setup

Configure Timezone

Use this task to configure the time zone.

Before you begin

Log into Cisco Optical Site Manager

Procedure


Step 1

Click COSM Setup in the left panel.

Step 2

Click the Configuration tab and then click Time Settings to expand it.

Step 3

Type the name of the city or press space in the Time Zone field and select a time zone from the drop-down list.

Step 4

Click Apply.

A confirmation message appears.

Step 5

Click Yes.


View Cisco Optical Site Manager Diagnostics

Use this task to retrieve and download Cisco Optical Site Manager diagnostics information.

Before you begin

Log into Cisco Optical Site Manager

Procedure


Step 1

Click COSM Setup in the left panel.

The COSM Configuration page appears.

Step 2

Click the Diagnostics tab.

Step 3

To retrieve Cisco Optical Site Manager diagnostic logs, perform these steps:

  1. Select the check boxes for which you want to retrieve the logs.

    Note


    By default, all the check boxes are selected except NCS Callback Log.

    Table 1. Fields Description

    Fields

    Description

    Alarms

    Collects the active alarms

    Audit Logs

    Collects NSO audit logs

    Conditions

    Collects the active conditions

    Admin Logs

    Collects the Admin logs

    Engineer Logs

    Collects all the system software logs

    History Logs

    Collects the alarms history logs

    Inventory Logs

    Collects the hardware inventory logs

    NCS Callback Log

    Collects information about the implementation status and return values of entire NSO data tree

  2. Click Retrieve to retrieve the diagnostics report.

    A confirmation message appears.

  3. Click Yes.

  4. Click Download to download the diagnostics report.

A zip file containing the logs is downloaded.


View Audit Logs

Use this task to retrieve and download Cisco Optical Site Manager audit logs.

Before you begin

Log into Cisco Optical Site Manager

Procedure


Step 1

Click COSM Setup in the left panel.

The COSM Configuration page appears.

Step 2

Click the Audit Logs tab.

Step 3

Select the search criteria from the Search filters section and click Search.

Details of each event including the date, user type, SID and event details are displayed in a table.


Cisco Optical Site Manager Smart Licensing

Description

Table 2. Feature History

Feature Name

Release Information

Feature Description

Cisco Optical Site Manager Smart Licensing

Cisco IOS XR Release 24.3.1

Cisco Optical Site Manager now supports the smart licensing. It enables you to automate the time-consuming manual licensing tasks and allows you to easily track the status of your license and software usage trends.

You can choose any of smart licensing modes based on your requirement:

  • Smart Transport

  • CSLU

  • Offline


Note


In the Fault Monitoring section, two alarms appear, UNTRUSTED APPLICATION and USAGE-NOT-REPORTED. UNTRUSTED APPLICATION alarm gets cleared once trust is established by the Smart License and the USAGE-NOT-REPORTED alarm gets cleared when the license is consumed.


COMS Smart Licensing is a cloud-based, software license management solution that enables you to automate time-consuming, manual licensing tasks. The solution allows you to easily track the status of your license and software usage trends.

Smart Licensing helps you simplify three core functions:

  • Purchasing: The software that you have installed in your Cisco Optical Site Manager can be registered without External or Local Authentication.

  • Management: You can automatically track activations against your license entitlements. Smart Licensing offers you Cisco Smart Software Manager, a centralized portal that enables you to manage all your Cisco software licenses from one centralized website.

  • Reporting: Through the portal, Smart Licensing offers an integrated view of the licenses you have purchased and what has been deployed in your network. You can use this data to make better purchasing decisions, based on your consumption.

Cisco Smart Account

Cisco Smart Account is an account where all products enabled for Smart Licensing are deposited. Cisco Smart Account allows you to manage and activate your licenses to devices, monitor license use, and track Cisco license purchases. Through transparent access, you have a real-time view into your Smart Licensing products. IT administrators can manage licenses and account users within your organization's Smart Account through the Smart Software Manager.

When creating a Smart Account, you must have the authority to represent the requesting organization. After you submit the request, it goes through a brief approval process. Access http://software.cisco.com to learn about, set up, or manage Smart Accounts.

Cisco Smart Software Manager enables you to manage all your Cisco Smart software licenses from one centralized website. With Cisco Smart Software Manager, you organize and view your licenses in groups called virtual accounts (collections of licenses and product instances). Use the Cisco Smart Software Manager to do these tasks:

  • Create, manage, or view virtual accounts.

  • Create and manage Product Instance ID Tokens.

  • Transfer licenses between virtual accounts or view licenses.

  • Transfer, remove, or view product instances.

  • Run reports against your virtual accounts.

  • Modify your email notification settings.

  • View overall account information.

Virtual Accounts

A Virtual Account exists as a subaccount tithing the Smart Account. Virtual Accounts are a customer-defined structure based on organizational layout, business function, geography, or any defined hierarchy. They are created and maintained by the Smart Account administrator. Smart Licensing allows you to create multiple license pools or virtual accounts within the Smart Software Manager portal. Using the Virtual Accounts option that you can aggregate licenses into discrete bundles that are associated with a cost center so that one section of an organization cannot use the licenses of another section of the organization. For example, if you segregate your company into different geographic regions, you can create a virtual account for each region to hold the licenses and product instances for that region.

All new licenses and product instances are placed in the default virtual account in the Smart Software Manager, unless you specify a different one during the order process. After you access the default account, you may choose to transfer them to any other account, provided you have the required access permissions.

Use the Smart Software Manager portal to create license pools or transfer licenses.

Product Instance ID Tokens

ID tokens are stored in the Product Instance ID Token Table that is associated with your enterprise account. ID tokens can be valid 1–365 days.

Product Instances

A product instance is an individual device with a unique device identifier (UDI) that is registered using a product instance ID token (or ID token). You can register any number of instances of a product with a single ID token. Each product instance can have one or more licenses residing in the same virtual account. Product instances must periodically connect to the Cisco Smart Software Manager servers during a specific renewal period. If you remove the product instance, its licenses are released and made available within the virtual account.
Create a Token

Before you begin

To create a new token using Cisco Smart Software Manager, perform the following tasks:

Procedure


Step 1

Log in to the Cisco Smart Software Manager.

https://software.cisco.com/software/csws/ws/platform/home#SmartLicensing-Inventory

Step 2

Click the Inventory tab, and select your virtual account from the Virtual Account drop-down list.

The Create Registration Token window is displayed.

Step 3

Click the General tab, and click New Token.

Step 4

Enter the token description. Specify the number of days the token must be active.

Step 5

Check the Allow export-controlled functionality on the products registered with this token check box.

Step 6

Click Create Token.

Step 7

Copy the token and register Cisco Optical Site Manager with the same token ID.

An example of the token ID: YzY2ZjYyNjktY2NlOS00NTc4LWIxNTAtMjZkNmNiNzMxMTY1LTE2NjAzNjQ3 %0ANzY4Njl8ZVJSckxKN2pFV2tIeHVoMUkxbGxTazFDVm9kc1B5MGlHQmlFWUJi%0Ac3VNRT0%3D%0A


Configure Smart Transport

Use this task to configure Smart Transport Licensing Mode.

Before you begin

  • Create a Token

  • Provide network configuration, as Cisco Optical Site Manager will not be accessible from outside the network.

    1. Use this sample configuration to communicate to outside network.
      Config
      admin server-information networking dns-configuration dns-server <ipaddress of DNS>
      commit
      exit

Procedure


Step 1

Click Cisco Optical Site Manager Setup in the left panel, and then click Smart License.

Step 2

Click the Configuration to expand it.

Step 3

Under Transport Settings, select the Transport Mode as Smart Transport from the drop-down list.

Step 4

Add https://smartreceiver.cisco.com/licservice/license under Smart Transport URL.

Step 5

Under Proxy Setting

  1. Perform these steps as needed.

    1. HTTPS Proxy (Optional)

    2. HTTP Proxy (Optional)

    3. Username (Optional)

    4. Password (Optional)

Step 6

Under Reports Settings, add Reporting Interval (Days)

  1. Enter <1–30>

Step 7

Check the check box Send Hostname to receive the hostname information.

Step 8

Check the check box Send Product Version to receive the product version.

Step 9

Click Apply to apply the settings.

Step 10

Click Check Connection to check the connection with the new settings.

If the Check Connection button turns Green, it indicates that the connection good.

If the Check Connection button turns Yellow, it indicates that there is an issue with the connection.


  • Transport Mode—Specifies the optical span of the side.

  • Smart Transport—Specifies the optical span of the side.

  • CSLU URL—Specifies the optical span of the side.

  • Smart Transport URL—Specifies the optical span of the side.

  • HTTPS Proxy—(Optional) Type the HTTPS Proxy Address.

  • HTTP Proxy—(Optional) Type the HTTP Proxy Address.

  • Username—(Optional) Type the Username.

  • Password—(Optional) Type the Password.

  • Reporting Iinterval (Days)—Specifies the reporting interval in days.

  • Hostname—Specifies the hostname which will be sent.

  • Product Version—Specifies the product version which will be sent.

What to do next

Establish Trust.
  1. Go to Information Tab, click Establish Trust, it displays Establish Trust pop up.

  2. Copy the Token text from the Virtual Account, paste under the ID Token dialog box and click Trust.

  3. Configuration Verification

    • Under Trust tab Trust Established time and Last Attempt Result as Success displays, indicating that the Trust Established.

    • Click Sync, under Reporting it displays Last Report Pushed time and Last Acknowledgement Received time indicating synchronization is done.

    • Under License Usage, license count displays.


Note


For the NCS 1010, the license count is based on the chassis, whereas for the NCS 1014, the license count is based the number of line cards available on Cisco Optical Site Manager application.


Configure CSLU

Use this task to configure CSLU Licensing Mode.

Before you begin

  • Install CSLU Application on Windows System or Linux.

    1. Login using Cisco User ID and Password.

    2. Go to CSLU application fill the appropriate details under Preferences tab Click Apply.

    3. Click Test Connection.

    4. CSLU displays a pop-up showing the Test connection is successful.

Procedure


Step 1

Click Settings in the left panel, and then click Smart License.

Step 2

Click the Configuration to expand it.

Step 3

Under Transport Settings, select the CSLU/OnPrem from the drop-down list.

Step 4

Enter the CSLU URL.

Step 5

http://<Device IP>:8182/cslu/v1/pi under CSLU URL.

Device IP is the Ethernet2 IP address of the computer in which the CSLU application is installed.

Step 6

Under Proxy Setting

  1. Perform these steps as needed.

    1. HTTPS Proxy (Optional)

    2. HTTP Proxy (Optional)

    3. Username (Optional)

    4. Password (Optional)

Step 7

Under Reports Settings, add Reporting Interval (Days)

  1. Enter <1–30>

Step 8

Check the check box Send Hostname to receive the hostname information.

Step 9

Check the check box Send Product Version to receive the product version.

Step 10

Click Apply to apply the settings.

Step 11

Click Check Connection to check the connection with the new settings.

If the Check Connection button turns Green, it indicates that the connection good.

If the Check Connection button turns Yellow, it indicates that there is an issue with the connection.


  • Transport Mode—Specifies the optical span of the side.

  • CSLU URL—Specifies the optical span of the side.

  • HTTPS Proxy—(Optional) Type the HTTPS Proxy Address.

  • HTTP Proxy—(Optional) Type the HTTP Proxy Address.

  • Username—(Optional) Type the Username.

  • Password—(Optional) Type the Password.

  • Reporting Iinterval (Days)—Specifies the reporting interval in days.

  • Hostname—Specifies the hostname which will be sent.

  • Product Version—Specifies the product version which will be sent.

What to do next

Configure Sync.
  1. In the COSM application, click the Sync button.

  2. CSLU displays COMPLETE: Sync response acknowledgement to product instance when the Sync is complete from the CSLU.

  1. Configuration Verification

    • Under Trust tab Trust Established time and Last Attempt Result as Success displays, indicating that the Trust Established.

    • When Sync is done, under Reporting it displays Last Report Pushed time and Last Acknowledgement Received time indicating synchronization is done.

    • Under License Usage, license count displays.


Note


For the NCS 1010, the license count is based on the chassis, whereas for the NCS 1014, the license count is based the number of line cards available on Cisco Optical Site Manager application.


Configure Offline

Use this task to configure Offline Licensing Mode.

Procedure


Step 1

Click Settings in the left panel, and then click Smart License.

Step 2

Click the Configurationto expand it.

Step 3

Under Transport Settings, select Transport Mode and then by selecting Offline from the drop-down list.

Step 4

Check the check box Send Hostname to receive the hostname information.

Step 5

Check the check box Send Product Version to receive the product version.

Step 6

Click Apply to apply the settings.

Step 7

Check Connection is disabled for Offline mode.


What to do next

Establishing Trust
  1. Click the Information tab to expand it.

  2. Click Save button, choose Trust Request.

  3. trust-request XML file downloads.

  4. Go to Cisco Smart Software Manager then go to Reports then click Usage Data Files then click Upload Usage Data and select the Virtual Account and click on Ok.

  5. Upload Usage Data window opens, click the Browse button and upload the trust-request file.

  6. Check under the Reporting Status tab to see No Errors. It may take a few minuets to show No Errors. If it shows Errors, you have to fix them.

  7. Click Download under Acknowledgement tab.

  8. In the Cisco Optical Site Manager click Import button,

    it opens a Establish Trust window.
  9. Click Select files... and upload Ack_trust-request-xxxx click Open then click Upload.

  10. Click Save, then Usage, it opens a Select what to save window, then choose any one option.

    • unreported

    • all

    • days

  11. rum-report-xxx downloads

  12. In the CSSM, under Usage Data Files click Upload Usage Data.

  13. It opens a Upload Usage Data window, click Browse and select rum-report-xxx click Open then click Upload Data In the Select Virtual Accounts window, select the appropriate account and click ok.

  14. It may take a few minuets to show No Errors. If it shows Errors, you have to fix them.

  15. When No Errors appears, Download the Ack_rum-report-xxx.

  16. In the Cisco Optical Site Manager click Import button,

    it opens Establish Trust click Select files.. and select Ack_rum-report-xxx click Open then click Done.
  17. Click the Refresh button to see updated information.

  18. Configuration Verification

    • Under the Trust tab you will see Trust Established time indicating that the trus is established.

    • Under Reporting it displays ACK Report Time will be displayed.

    • Under License Usage, license count displays.


    Note


    For the NCS 1010, the license count is based on the chassis, whereas for the NCS 1014, the license count is based the number of line cards available on Cisco Optical Site Manager application.