Manage Authorization Groups
Use this task to create, edit, or delete authorization groups for devices.
Before you begin
Procedure
|
Step 1 |
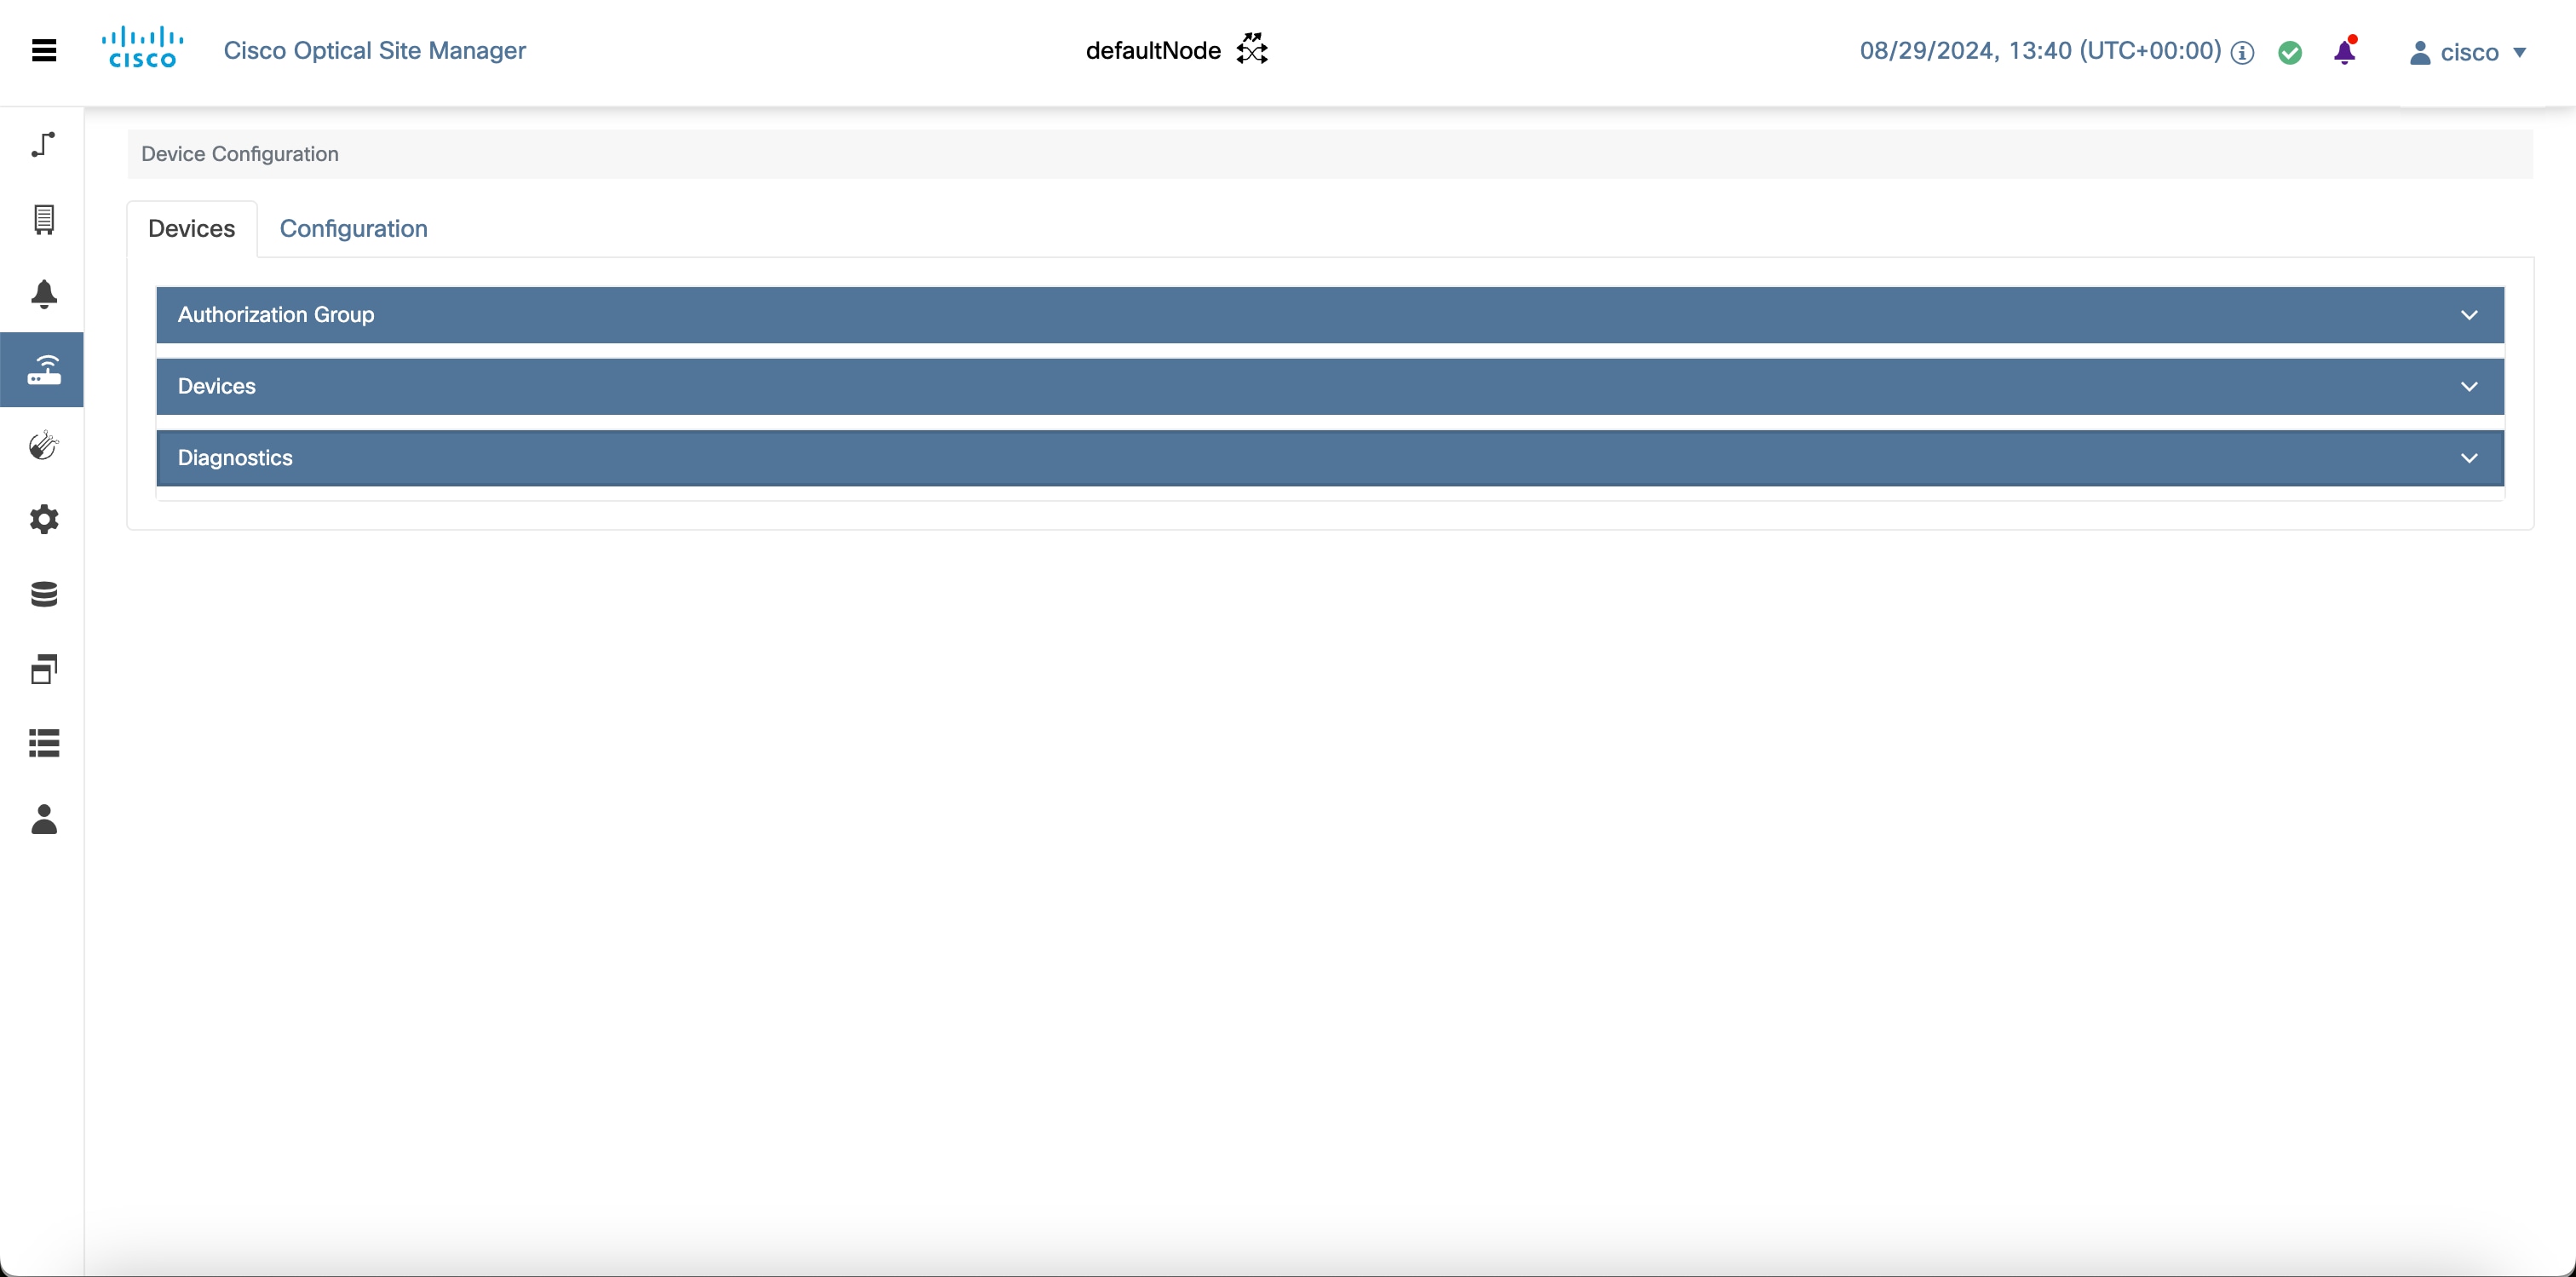
Click Devices in the left panel. |
|
Step 2 |
In the Devices tab, click the Authorization Group section to exapnd it. A table appears that lists all the available groups. |
|
Step 3 |
Perform these steps, as needed: |


 Feedback