Database Backup and Restore
Cisco Optical Site Manager allows the backup of its own database as well as the databases of the devices it manages, ensuring that data can be restored in case of disaster. Backup are executed and stored within the device on which Cisco Optical Site Manager is installed and are accessible through the Cisco Optical Site Manager web user interface.
Backup and Download Database
Backing up the Cisco Optical Site Manager database ensures data integrity and availability in case of unexpected failures, such as hardware malfunctions or software corruption. By maintaining regular backup, administrators can quickly restore the system to its last known good state, minimizing downtime and operational disruptions.
Use this task to back up and download the database for both Cisco Optical Site Manager and the devices it manages.
Before you begin
Procedure
|
Step 1 |
Click Database in the left panel. |
|
Step 2 |
Click the Backup button. |
|
Step 3 |
(Optional) Enable the Stop on Error toggle button to stop the backup process if any of the selected devices for backup are disconnected, unresponsive, or locked. |
|
Step 4 |
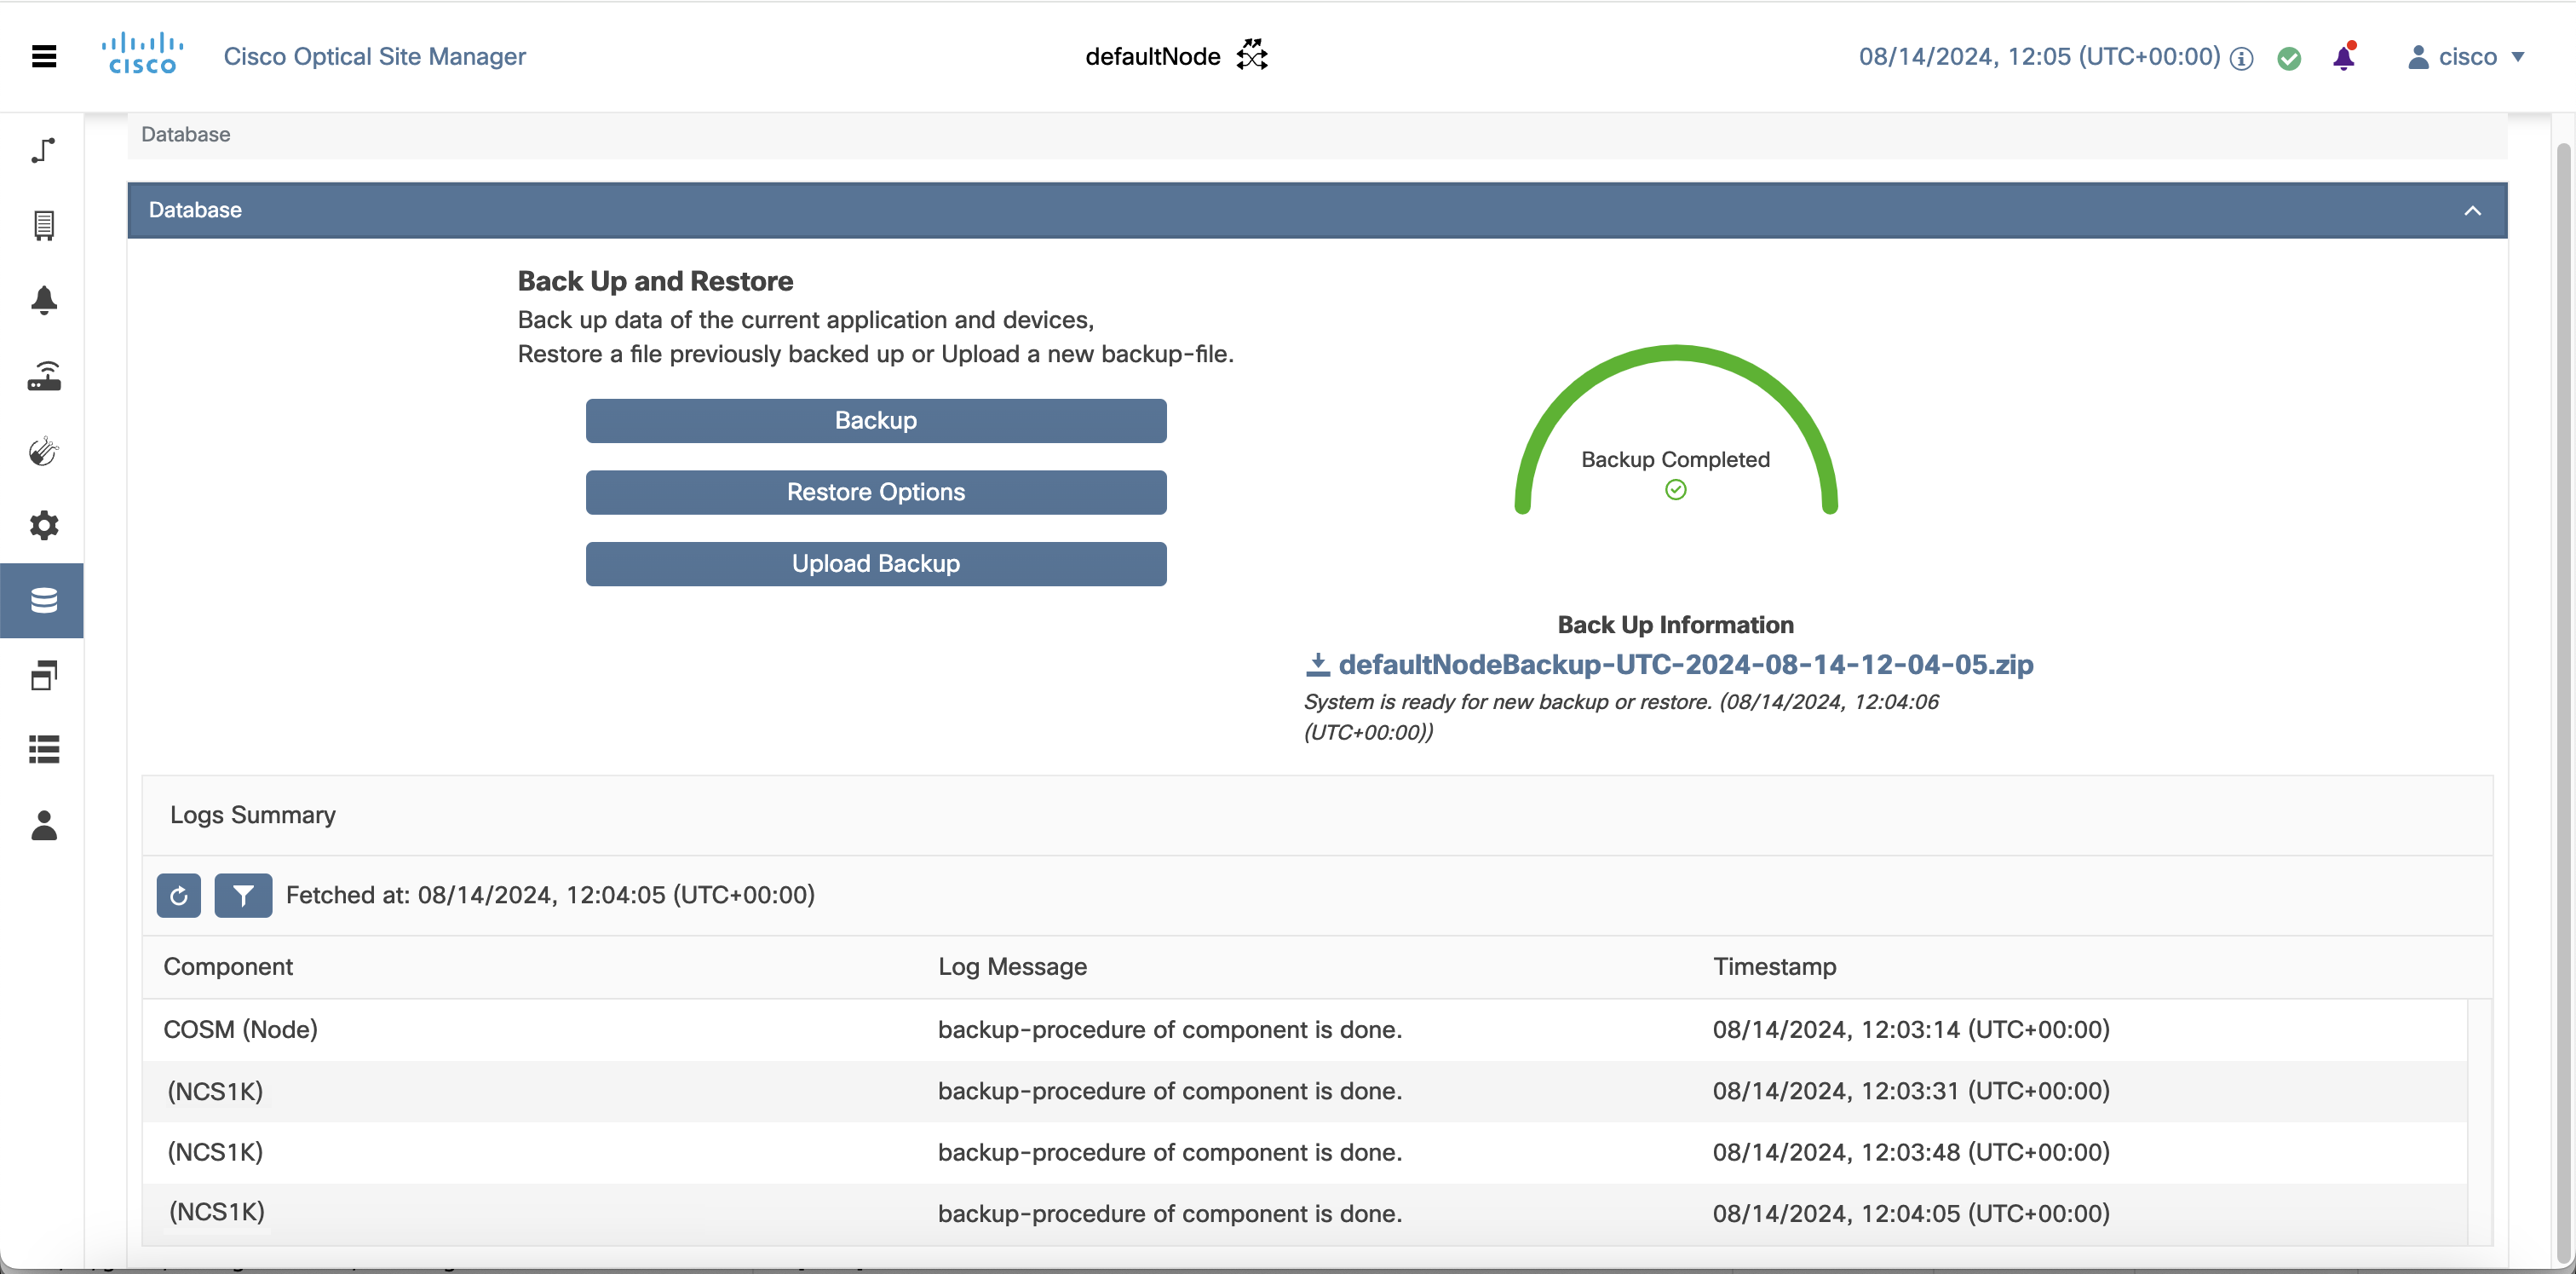
Click Yes to start the backup. The Logs Summary section displays the backedup components, their status, and timestamps. |
|
Step 5 |
Click the backup file name under Back Up Information to download entire backup as a ZIP file on your local system. |
Restore Database
When performing a restore operation, you restore Cisco Optical Site Manager and its managed devices database to the state it was in at the backup time. You can choose to restore only the Cisco Optical Site Manager database, only one or multiple managed devices database, or both simultaneously.
Use this task to restore the database of either the Cisco Optical Site Manager or the devices it manages.
Before you begin
Procedure
|
Step 1 |
Click Database in the left panel. |
||||||||||
|
Step 2 |
Click the Restore Options button. |
||||||||||
|
Step 3 |
Do one of the following to restore the database:
|
||||||||||
|
Step 4 |
(Optional) Enable the Stop on Error toggle button to stop the restore process if any of the selected devices for restore are disconnected, unresponsive, or locked. |
||||||||||
|
Step 5 |
Click Yes to start the restore process. The Logs Summary section displays the restored components, their status, and timestamps. |
Upload Database
While multiple backups can be created, only the most recent backup is available for download and restoration. You may need to upload and restore your database in the following situations:
-
Reinstall Cisco Optical Site Manager: If you need to reinstall Cisco Optical Site Manager, uploading the backup file allows you to restore the data to its state prior to the re-installation.
-
Database Transfer Between Nodes: Copy the database from one device to another by backing up from the source device and uploading it on the destination device.
Use this task to upload the database from a downloaded backup ZIP file.
Before you begin
Procedure
|
Step 1 |
Click Database in the left panel. |
||
|
Step 2 |
Click the Upload Backup button. |
||
|
Step 3 |
Click Select Files to select a ZIP file.
|
||
|
Step 4 |
Click Upload to upload the backup. |
 Feedback