
Managing Password Policy
IoT FND provides default password policy values that you can enforce among IoT FND users.
 Note |
To modify these values, you must be logged in either as root or as a user with Administrative Operations permissions. In some cases, changing password policies immediately terminates all user sessions and resets all passwords. |
Note |
The “Password history size” and “Max unsuccessful login attempts” policies do not apply to IoT FND North Bound API users. |
These changes invalidate all user sessions and expire their passwords (including the root user):
-
When you increase the minimum length of passwords
-
When you decrease the password expiry interval
-
When you enable
-
When you enable
-
When you enable
-
When you enable
To edit password policies:
Procedure
|
Step 1 |
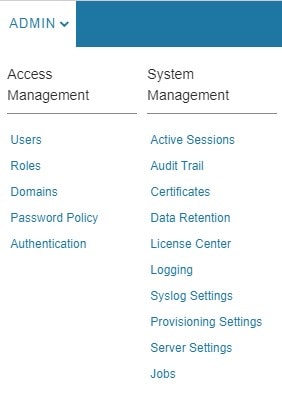
Choose .  |
||
|
Step 2 |
To enable or disable a policy, choose the appropriate option (Enabled or Disabled ) from the Status drop-down menu.
|
||
|
Step 3 |
To modify the value of a policy, if applicable, enter the new value in the Value field. |
||
|
Step 4 |
Click to start enforcing the new policies.
|


 Feedback