Install Cisco Optical Network Controller Using OpenStack
To deploy the Cisco Optical Network Controller using OpenStack, follow the instructions in this task. The deployment leverages a Heat Orchestration Template to automate the creation of necessary components and configurations.
Heat Orchestration Template
A Heat orchestration template will be provided to create the required components for the instance. The template includes configurations for block storage, security groups, and network settings.
Components Created by Heat Template
-
Block Storage: Image and data volumes are created and attached to the instance.
-
Security Groups: Security groups for network ports are established.
-
Network Configuration: A control plane network and subnet are created as a private network, and a northbound port will be created.
-
Join Token: Random text is generated to be used as a join token.
-
Cloud-Init Configuration: The cloud-init is prefilled based on the parameters that are obtained during stack launch.
Before you begin
-
OpenStack Version: 2024.1
See OpenStack Documentation for release 2024.1 for details on how to use OpenStack.
-
Upload Image: Upload the Cisco Optical Network Controller (qcow2) image to the server..
Use the following CLI command to upload the image to the OpenStack project.
openstack image create --disk-format=qcow2 --file <path-to-image>.qcow2 \
   --shared \
   --property hw_firmware_type='uefi' \
   --property hw_machine_type='q35' \
   --property architecture='x86_64' \
   --progress \
   "Image Name"
After you perform these commands, the qcow2 image is available for deployment in OpenStack.

Note
Install the OpenStack Command Line Interface (CLI) and source the OpenStack Cloud RC file or clouds.yaml before running the command. For installation instructions, see Install the OpenStack command-line clients.
-
Configure Network: Use the northbound network for Cisco Optical Network Controller to expose the UI and REST APIs. Cisco Optical Network Controller uses this northbound network to connect to the devices.
-
Create Flavors: It is optional to have physical disks/ephemeral storage. While creating a flavor both physical disks/ephemeral storage cane be set to 0GB as block storage volumes handle both the image and data volumes.
To create a flavor, in the OpenStack Dashboard, select the admin project from the drop-down list, select and enter the parameters for the flavor.
Note
You need administrative access to OpenStack to create flavors.
The minimum requirement for Cisco Optical Network Controller 24.3.1 installation are in the following table.
Table 1. Minimum Requirement Sizing
CPU
Memory
Disk
XS
16 vCPU
64 GB
800 GB
S
32 vCPU
128 GB
1.5 TB
-
Create Key Pair: Create a key pair using the ed25519 algorithm. Upload Public SSH Key to OpenStack by going to and select Import Public Key.
Run the following command in a UNIX-based environment to create an SSH key pair:
ssh-keygen -t ed25519
Generating public/private ed25519 key pair.
Enter file in which to save the key (/Users/xyz/.ssh/id_ed25519): ./<file-name-of-your-key>.pem
Enter passphrase (empty for no passphrase):
Enter same passphrase again:
Your identification has been saved in ./<file-name-of-your-key>.pem
Your public key has been saved in ./<file-name-of-your-key>.pem.pub
The key fingerprint is:
SHA256:zGW6aGn8rxvEq82sA/97jOaHrl9rnoTaYi+TqU3MeRU xyz@abc
The key's randomart image is:
+--[ED25519 256]--+
|                 |
|                 |
|          E      |
|       + + .     |
|        S .      |
|    .+ = =       |
|     o@o*+o      |
|     =XX++=o     |
|    .o*#/X=      |
+----[SHA256]-----+

#Once created you can cat the file with .pub extension for the public key. ( ex: <file-name-of-your-key>.pem.pub )

cat <file-name-of-your-key>.pem.pub
#The above key has to be used in the deployment template ( SSH Public Key ) in the Deployment process
Follow the prompts to save the key. The key pair will be used to access Cisco Optical Network Controller after the installation.
-
You must have an NTP server or NTP Pool for time synchronization.
-
You must have a DNS server. The DNS server can be an internal DNS server if the Cisco Optical Network Controller instance is not exposed to the internet.
Perform the following steps to install Cisco Optical Network Controller using OpenStack.
Procedure
|
Step 1 |
Log in to OpenStack. |
||||||||||||||||||||||||||
|
Step 2 |
Select from the sidebar. 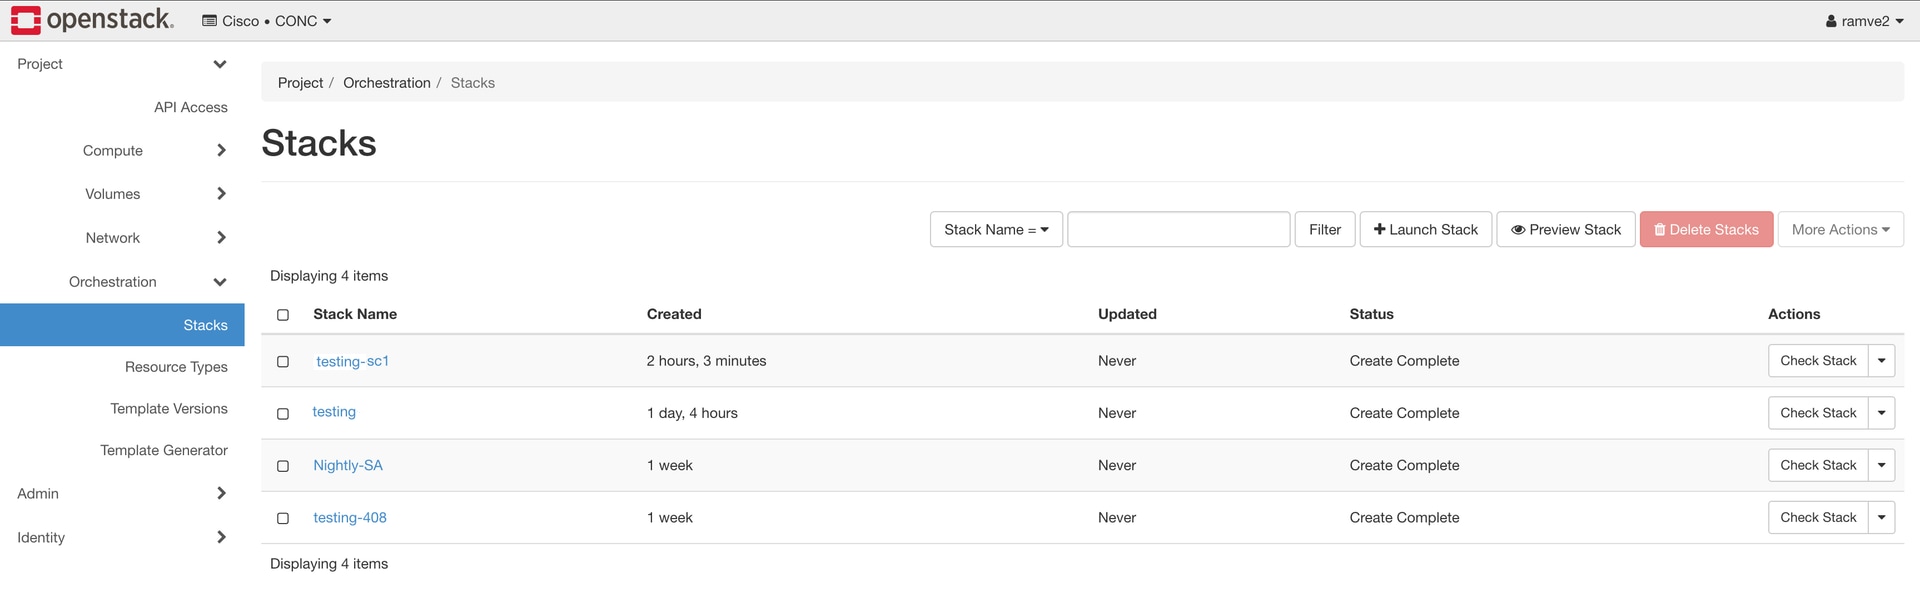
|
||||||||||||||||||||||||||
|
Step 3 |
Launch Stack.
|
||||||||||||||||||||||||||
|
Step 4 |
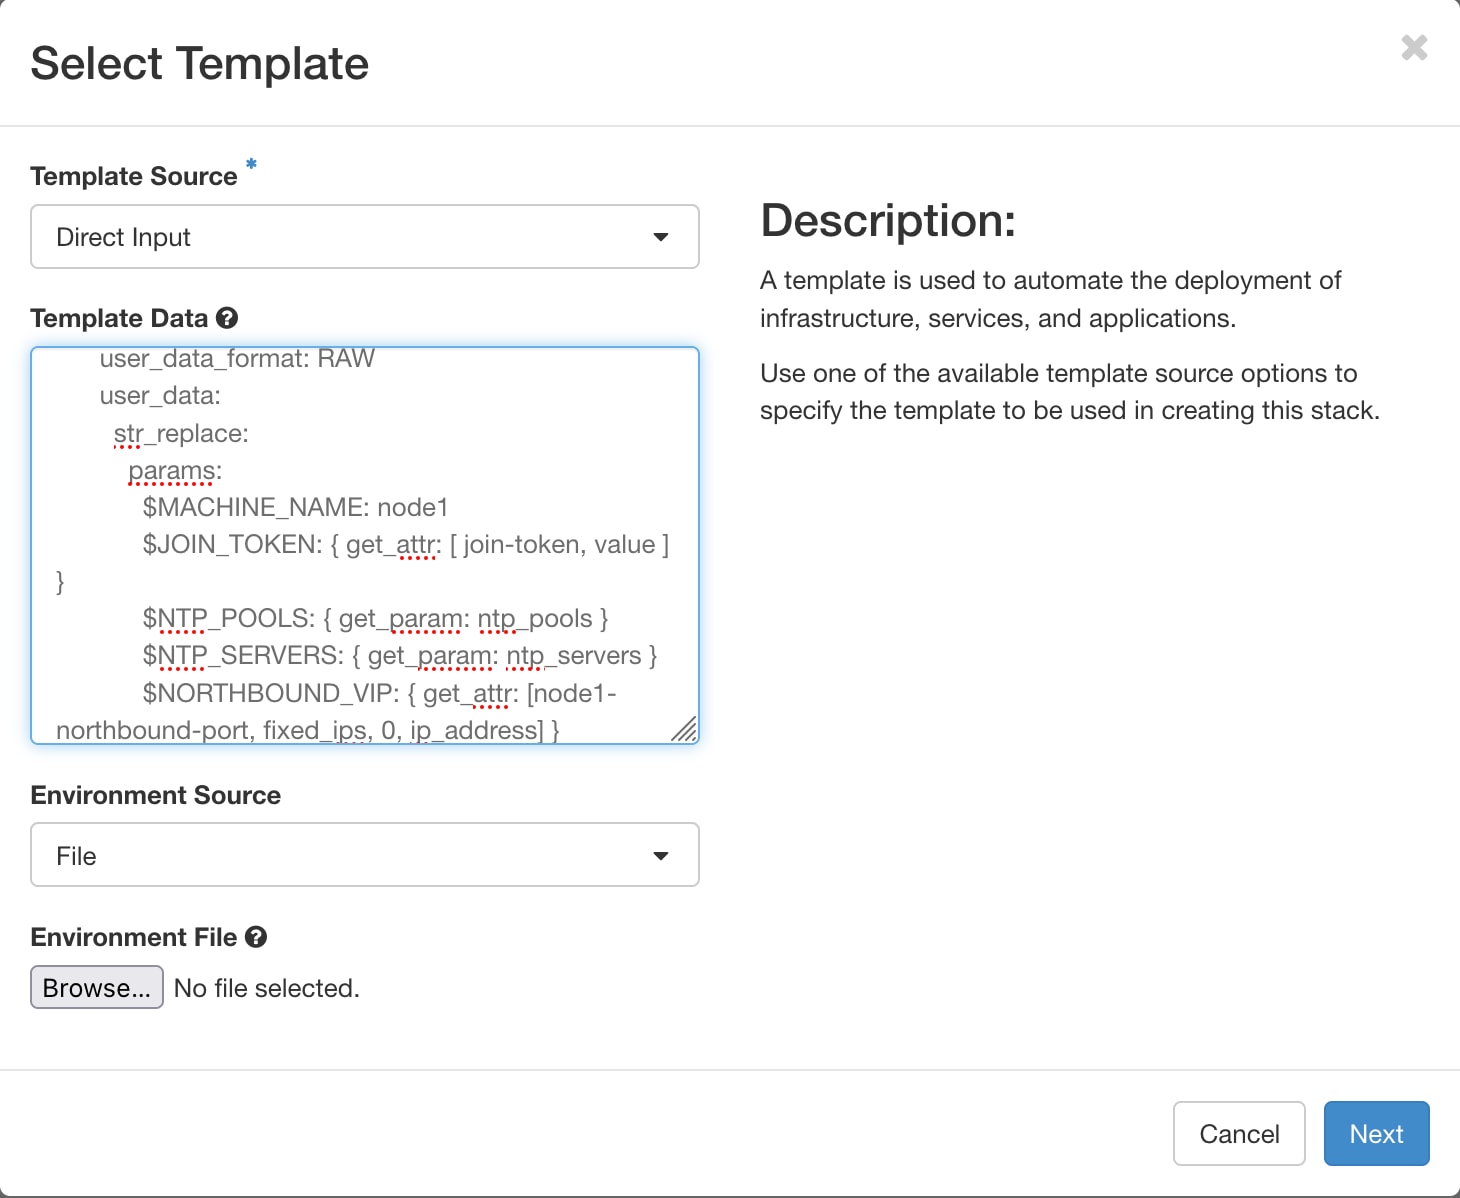
In the Launch Stack dialog box, enter the Stack Parameters.
|
||||||||||||||||||||||||||
|
Step 5 |
Click Launch.
|
||||||||||||||||||||||||||
|
Step 6 |
SSH to the node and execute the following CLI command.
|
||||||||||||||||||||||||||
|
Step 7 |
After you SSH into the node, use the sedo system status command to check the status of all the pods.
|
||||||||||||||||||||||||||
|
Step 8 |
SSH to the node and set the initial UI password for the admin user. |
||||||||||||||||||||||||||
|
Step 9 |
You can check the current version using the sedo version command. |
||||||||||||||||||||||||||
|
Step 10 |
To check the default admin user ID, use the command sedo security user list. |
||||||||||||||||||||||||||
|
Step 11 |
Use a web browser to access https://<virtual ip>:8443/ to access the Cisco Optical Network Controller Web UI. Use the admin id and the password that you set to log in to Cisco Optical Network Controller.
|
 Feedback