|
Step 1
|
Obtain the Cisco Nexus Dashboard software archive package (tarball).
-
Browse to the Software Download page.
-
Click the Downloads tab.
-
Choose the Nexus Dashboard release version you want to download.
-
Clik the Download icon next to the Nexus Dashboard tarball (nd-rhel-<version>.tar).
|
|
Step 2
|
Extract the downloaded archive.
tar -xvf nd-rhel-<version>.tar
|
|
Step 3
|
Modify the installation yaml file.
The distribution tarball includes a sample YAML file (./nd-linux/examples/nd-linux-input.yaml), which you can modify to provide the values appropriate to your deployment.
For example, the following sample node configuration YAML file highlights the specific fields which you must provide:
-
For blkdev, provide the SSD devices for the node's image and data volumes.
You must provide two devices, one for the image and one for the data. The order of the devices in the YAML file does not matter—the
smaller disk will be used for image and the larger disk will be used for data.
|
Note
|
Both devices will be erased and consumed for the Nexus Dashboard node.
|
For more information on the node device requirements, see Prerequisites and Guidelines.
-
For oobNetwork, provide the management network information:
-
For uplinks, provide the names of the network interfaces which will be used for the cluster's Management and Data networks.
These interfaces must be dedicated exclusively to the Nexus Dashboard.
-
For ipNet, provide the node's management network IPv4 address and netmask in the 172.23.152.214/24 format.
-
For gatewayIP, provide the node's management network IPv4 gateway.
-
For ipv6Net, provide the node's management network IPv6 address and netmask in the 2001:420:286:2000:6:15:152:220/112 format.
You can leave this parameter out if you are not configuring dual stack IPv4/IPv6 for your cluster.
-
For gatewayIPv6, provide the node's management network IPv6 gateway.
You can leave this parameter out if you are not configuring dual stack IPv4/IPv6 for your cluster.
-
For inbandNetwork, you must provide only the interface(s) in the uplinks section as the rest of the configuration is defined during the GUI bootstrap process.
-
For firstMaster, ensure that only one of the node is set to true and the other 2 nodes are set to false.
You will use the firstMaster node to complete the cluster bootstrap process using the GUI.
-
For clusterName, provide the name of the cluster.
-
For installProfile, choose either Default or Large.
For more information on the node profile requirements, see Prerequisites and Guidelines.
-
For serviceUser, provide an existing Linux account name which will be used for managing and troubleshooting the Nexus Dashboard node.
|
Note
|
The serviceUser must be different from the system's root user.
|
# Node Definition
# 'Master' / 'Worker' / 'Standby'. Only Master supported in 2.2
nodeRole: Master

# Block devices. Can be complete device or partition. Should meet profile requirements.
blkdev:
  - type: SSD
    name: "/dev/sdb"
  - type: SSD
    name: "/dev/sdc"

# Networking
# ND needs exclusively 2 interfaces. Has to be separate from the linux management interface.
oobNetwork:
   uplinks:
  - ens924
  ipNet: 172.23.152.214/24
  gatewayIP: 172.23.152.1
  ipv6Net: 2001:420:286:2000:6:15:152:220/112
  gatewayIPv6: 2001:420:286:2000:6:15:152:1

# Just the interface for the inbandNetwork, rest can be provided at ND bootstrap UI
inbandNetwork:
  uplinks:
  - ens956

# 'true' for one of the masters in a cluster
firstMaster: true

clusterName: nd-cluster

#Installation Profile. Default / Large. Large is used for NDFC SAN installations
installProfile: Default

#Linux username. Cannot be root. Only this user will have privileges to execute certain ND diag commands.
serviceUser: nduser
|
|
Step 4
|
Install Nexus Dashboard node software.
cd nd-linux
./nd-installer setup ./examples/nd-linux-input.yaml
You will be asked to provide the password, which will be used for the Nexus Dashboard cluster admin account.
|
Note
|
By default, the installer verifies that the system clock is synchronized using chrony. If you use a different system to synchronize the clock, you can use ./nd-installer setup ./examples/nd-linux-input.yamlskip-ntp-check instead to bypass the default verification.
|
|
|
Step 5
|
Repeat the previous steps to deploy the 2nd and 3rd nodes.
If you are deploying a single-node cluster, you can skip this step.
You do not need to wait for the first node's installation to complete, you can begin deploying the other two nodes simultaneously.
|
Note
|
When providing the node details in the configuration YAML file for the 2nd and 3rd nodes, ensure that firstMaster parameter is set to false.
|
|
|
Step 6
|
Wait for all three nodes to finish deploying.
|
|
Step 7
|
Open your browser and navigate to https://<first-node-mgmt-ip> to open the GUI.
The rest of the configuration workflow takes place from one of the node's GUI. You must use the IP address you provided for
the node which you designated as firstMaster.
Enter the password you provided in a previous step and click Begin Setup 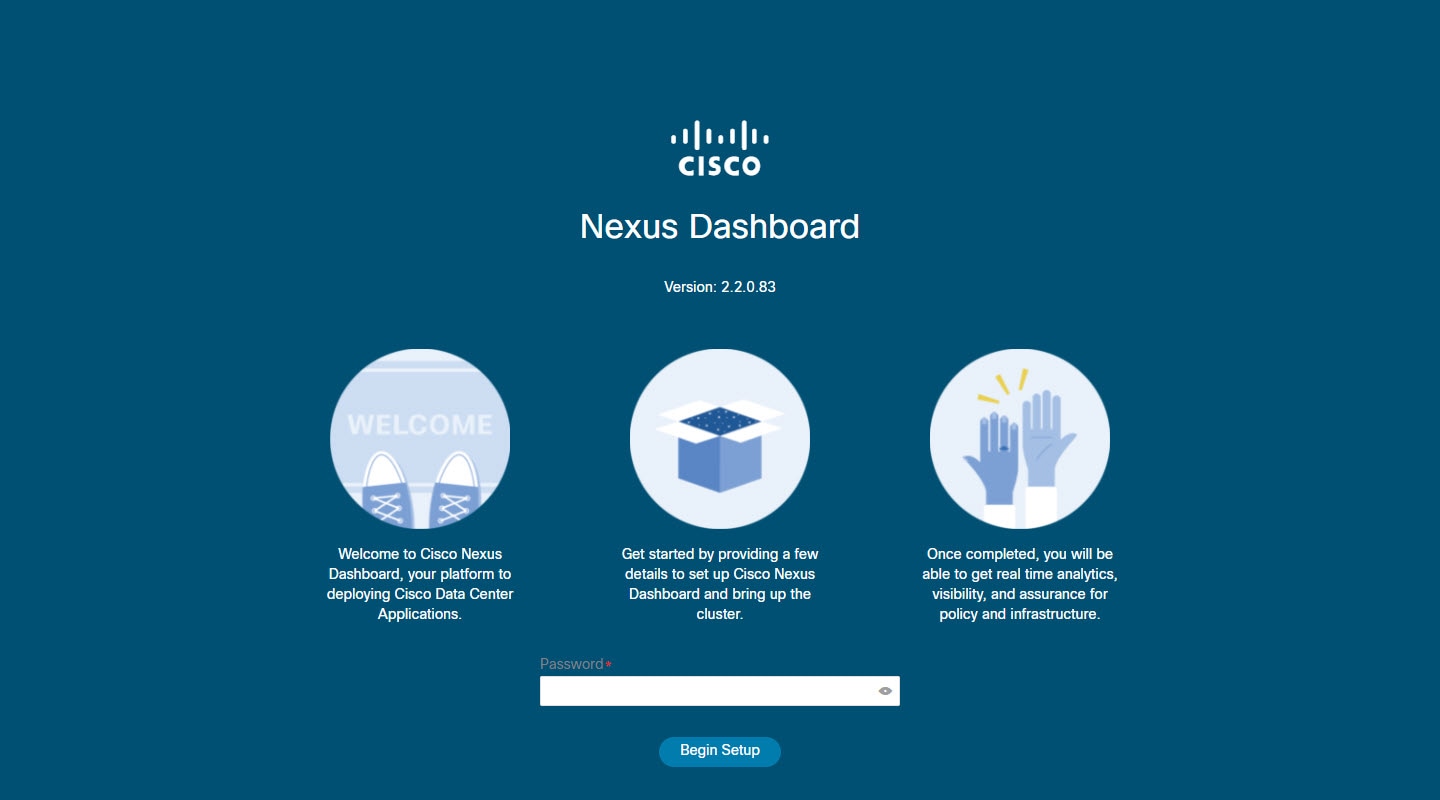
|
|
Step 8
|
Provide the Cluster Details.
In the Cluster Details screen of the initial setup wizard, provide the following information:
-
Provide the Cluster Name for this Nexus Dashboard cluster.
-
Click +Add NTP Host to add one or more NTP servers.
You must provide an IP address, fully qualified domain name (FQDN) are not supported.
After you enter the IP address, click the green checkmark icon to save it.
-
Click +Add DNS Provider to add one or more DNS servers.
After you enter the IP address, click the green checkmark icon to save it.
-
Provide a Proxy Server.
For clusters that do not have direct connectivity to Cisco cloud, we recommend configuring a proxy server to establish the
connectivity, which will allow you to mitigate risk from exposure to non-conformant hardware and software in your fabrics.
If you want to skip proxy configuration, click the information (i) icon next to the field, then click Skip.
-
(Optional) If your proxy server required authentication, change Authentication required for Proxy to Yes and provide the login credentials.
-
(Optional) Expand the Advanced Settings category and change the settings if required.
Under advanced settings, you can configure the following:
-
Provide one or more search domains by clicking +Add DNS Search Domain.
After you enter the IP address, click the green checkmark icon to save it.
-
Provide custom App Network and Service Network.
The application overlay network defines the address space used by the application's services running in the Nexus Dashboard.
The field is pre-populated with the default 172.17.0.1/16 value.
The services network is an internal network used by the Nexus Dashboard and its processes. The field is pre-populated with
the default 100.80.0.0/16 value.
Application and Services networks are described in the Prerequisites and Guidelines section earlier in this document.
-
Click Next to continue.
|
|
Step 9
|
In the Node Details screen, provide the node's information.
-
Click the Edit button next to the first node.
-
In the Password field, enter the password for this node and click Validate.
This will auto-populate the Name, Serial Number, and Management Network information for the node.
The hostname of the RHEL server where the node software is installed is used for the node's Name.
-
Provide the node's Data Network information.
The Management Network information is already pre-populated with the information you provided for the first node.
You must provide the data network IP address/netmask (for example, 172.31.140.58/24) and gateway (for example, 172.31.140.1). Optionally, you can also provide the VLAN ID for the network. For most deployments, you can leave the VLAN ID field blank.
-
(Optional) Provide IPv6 addresses for the management and data networks.
Nexus Dashboard supports either IPv4 or dual stack IPv4/IPv6 for the management and data networks.
|
Note
|
If you want to provide IPv6 information, you must do that now during cluster bootstrap process. If you deploy the cluster
using only IPv4 stack and want to add IPv6 information later, you would need to redeploy the cluster.
All nodes in the cluster must be configured with either only IPv4 or dual IPv4/IPv6 stack.
|
-
(Optional) If required, Enable BGP for the data network.
BGP configuration is required for the Persistent IPs feature required by some services, such as Nexus Dashboard Insights with
NDFC fabrics. This feature is described in detail in the "Persistent IP Addresses" sections of the Nexus Dashboard User's Guide.
|
Note
|
You can enable BGP at this time or in the Nexus Dashboard GUI after the cluster is deployed.
|
When you enable BGP, you must also provide the following information:
-
ASN (BGP Autonomous System Number) of this node.
You can configure the same ASN for all nodes or a different ASN per node.
-
BGP Peer Details, which includes the peer's IPv4 or IPv6 address and peer's ASN.
-
Click Save to save the changes.
|
|
Step 10
|
In the Node Details screen, click Add Node to add the second node to the cluster.
The Node Details window opens.
-
In the Deployment Details section, provide the node's Management IP Address and Password, then click Verify.
This is the password you provided to the ./nd-installer setup command during installation in Step 4.
Verifying the IP and password will auto-populate the Name, Serial Number, and Management Network information for the node.
The hostname of the RHEL server where the node software is installed is used for the node's Name.
-
Provide the node's Name.
-
Provide the node's Data Network IP address and gateway.
The Management Network information will be pre-populated with the information pulled from the node based on the management IP address and credentials
you provided in the previous sub-step.
You must provide the data network IP address/netmask (for example, 172.31.141.58/24) and gateway (for example, 172.31.141.1). Optionally, you can also provide the VLAN ID for the network. For most deployments, you can leave the VLAN ID field blank.
-
(Optional) Provide IPv6 information for the management and data networks.
Nexus Dashboard supports either IPv4 or dual stack IPv4/IPv6 for the management and data networks.
|
Note
|
If you want to provide IPv6 information, you must do it during cluster bootstrap process. If you deploy the cluster using
only IPv4 stack and want to add IPv6 information later, you would need to redeploy the cluster.
All nodes in the cluster must be configured with either only IPv4 or dual IPv4/IPv6 stack.
|
-
(Optional) If required, Enable BGP for the data network.
-
Click Save to save the changes.
|
|
Step 11
|
Repeat the previous step to add the 3rd node.
|
|
Step 12
|
In the Node Details screen, click Next to continue.
After you've provided the information for all 3 nodes in the cluster, continue to the next screen of the bootstrap process. 
|
|
Step 13
|
In the Confirmation screen, review and verify the configuration information and click Configure to create the cluster.
During the node bootstrap and cluster bring-up, the overall progress as well as each node's individual progress will be displayed
in the UI. If you do not see the bootstrap progress advance, manually refresh the page in your browser to update the status.
It may take up to 30 minutes for the cluster to form and all the services to start. When cluster configuration is complete,
the page will reload to the Nexus Dashboard GUI.
|
|
Step 14
|
Verify that the cluster is healthy.
It may take up to 30 minutes for the cluster to form and all the services to start.
After all three nodes are ready, you can log in to any one node via SSH using the serviceUser you provided in the configuration YAML and run the following command to verify cluster health:
-
After logging in to the Linux system, connect to the node using the /usr/bin/attach-nd command.
This command can be used only by the serviceUser user.
-
Verify that the cluster is up and running.
You can check the current status of cluster deployment by logging in to any of the nodes and running the acs health command.
While the cluster is converging, you may see the following outputs: $ acs health
k8s install is in-progress
$ acs health
k8s services not in desired state - [...]
$ acs health
k8s: Etcd cluster is not ready
When the cluster is up and running, the following output will be displayed:$ acs health
All components are healthy
-
Log in to the Nexus Dashboard GUI.
After the cluster becomes available, you can access it by browsing to any one of your nodes' management IP addresses. The
default password for the admin user is the same as the password you provided to the ./nd-installer setup command during installation in Step 4.
|

 Feedback