Azure Kubernetes Services (AKS) Service EPG Configuration Example
This section provides procedures for configuring an example service EPG with the following settings:
-
Service Type: Azure Kubernetes Services (AKS)
-
Azure Kubernetes Services (AKS) requires access to other services.
-
Cisco Cloud APIC automates the programming of the rules listed here:
https://docs.microsoft.com/en-us/azure/aks/limit-egress-traffic#required-outbound-network-rules-and-fqdns-for-aks-clusters
-
-
Deployment type: Cloud Native Managed. In this type of deployment, the service is instantiated in your VNet or subnet (created through the Cisco Cloud APIC). For example, an Azure Kubernetes Services (AKS) service could be deployed in a subnet that is managed by the Cisco Cloud APIC.
-
Access type: Private
The procedures to configure this example service EPG for AKS are provided in the following sections.
Creating a Subnet in the Cloud Context Profile
These procedures describe how to create a subnet in a cloud context profile to be used by the Azure Kubernetes Services (AKS) service EPG. You will be making configurations through the Cisco Cloud APIC GUI in these procedures.
Before you begin
-
In one browser window, log into your Cisco Cloud APIC GUI.
-
In another browser window, log into your Azure account for the Cisco Cloud APIC infra tenant and go to the Azure management portal:
Procedure
| Step 1 |
In the Cisco Cloud APIC GUI, click the Intent icon. The Intent menu appears. |
| Step 2 |
Click the drop-down arrow below the Intent search box and choose Application Management. A list of Application Management options appear in the Intent menu. |
| Step 3 |
From the Application Management list in the Intent menu, click Create Cloud Context Profile. The Create Cloud Context Profile window appears. 
|
| Step 4 |
Enter the following information in the Create Cloud Context Profile window.
|
| Step 5 |
Click Save when finished. |
What to do next
Creating the Cloud Service EPG for AKS
These procedures describe how to create the cloud service EPG with the Azure Kubernetes Services (AKS) service type. You will be making configurations through the Cisco Cloud APIC GUI in these procedures.
Before you begin
Complete the procedures in Creating a Subnet in the Cloud Context Profile before proceeding with these procedures.
Procedure
| Step 1 |
In the Cisco Cloud APIC GUI, click the Intent icon. The Intent menu appears. |
| Step 2 |
Click the drop-down arrow below the Intent search box and choose Application Management. A list of Application Management options appear in the Intent menu. |
| Step 3 |
From the Application Management list in the Intent menu, click Create EPG. The Create EPG window appears. 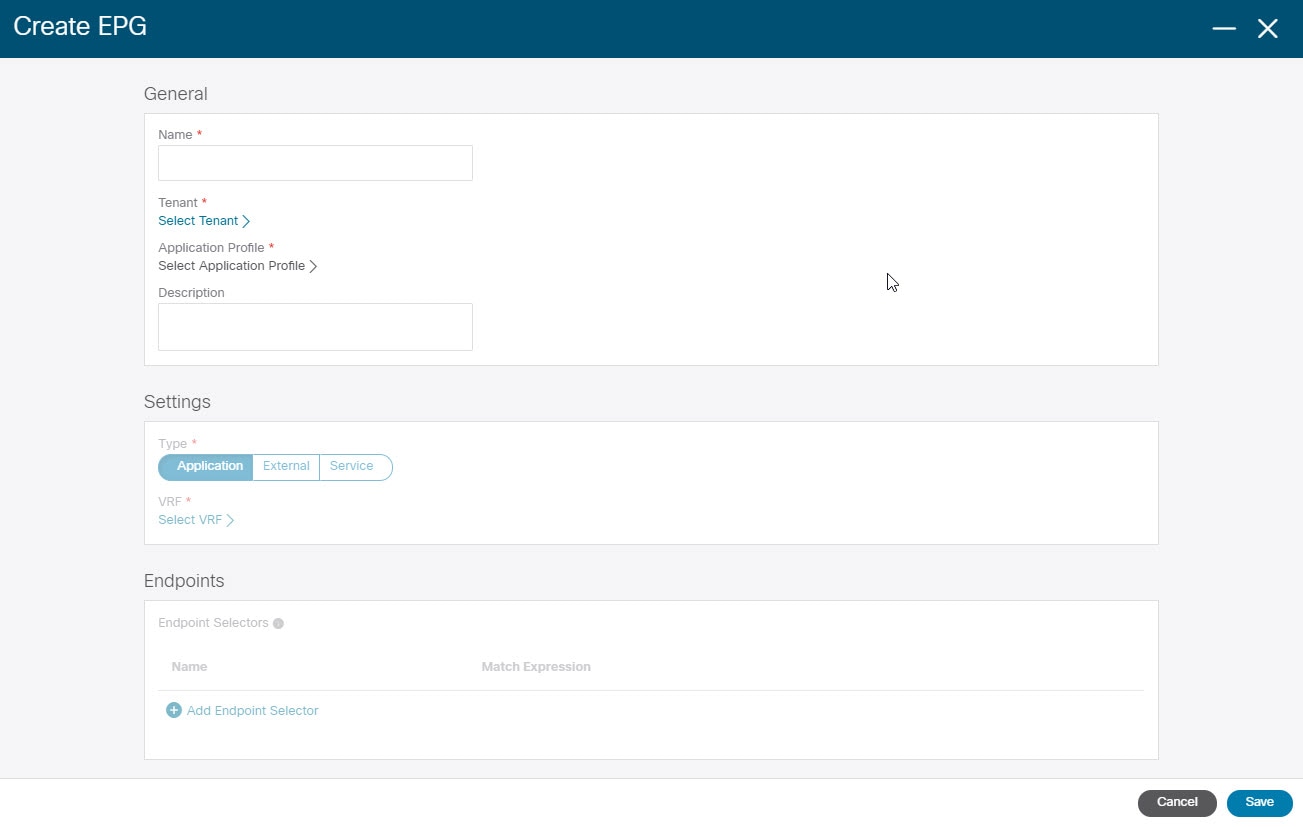
|
| Step 4 |
Enter the following information in the Create EPG window.
|
| Step 5 |
Click Add Endpoint Selector. The Add Endpoint Selector window appears. For this use case, we will be creating an endpoint selector where the IP address matches the subnet information configured
in the previous step, |
| Step 6 |
In the Add Endpoint Selector window, enter a name in the Name field. |
| Step 7 |
Click the Key drop-down list to choose a key. At this time, IP is the only option available as a key for this access type. |
| Step 8 |
Click the Operator drop-down list and choose equals. |
| Step 9 |
In the Value field, enter |
| Step 10 |
Click Add. |
| Step 11 |
Click Save when finished. |
What to do next
Verifying the Outbound Security Rules
These procedures describe how to verify that the necessary outbound security rules are getting configured correctly. The Cisco Cloud APIC configures all of the outbound security rules in Azure that are needed for AKS to be deployed in the Azure portal.
Before you begin
Complete the procedures in Creating the Cloud Service EPG for AKS before proceeding with these procedures.
Procedure
| Step 1 |
In the Azure portal, navigate to the network security group for the subnet that was automatically created:
|
| Step 2 |
Locate the Outbound security rules area in the page and verify that the outbound security rules for the NSG are configured correctly. For more information on the outbound security rules, see: https://docs.microsoft.com/en-us/azure/aks/limit-egress-traffic |
What to do next
Creating a Kubernetes Service
These procedures describes how to create a Kubernetes service. You will be making configurations through the Azure portal in these procedures.
 Note |
The following procedure describes how to create a Kubernetes service through the Azure portal. An alternative method for creating a Kubernetes service is also provided in the Using Azure Kubernetes Service with Cisco Cloud APIC document. |
Before you begin
Complete the procedures in Verifying the Outbound Security Rules before proceeding with these procedures.
Procedure
| Step 1 |
In the Azure portal, search for the term The Kubernetes Service page appears. |
||
| Step 2 |
Click Create in the Kubernetes Service page. The Create Kubernetes cluster page appears. 
|
||
| Step 3 |
In the Basics tab, configure the following areas:
|
||
| Step 4 |
Click Next: Node pools. Leave the default entries as-is and click Next: Authentication to advance to the Authentication tab. 
|
||
| Step 5 |
In the Authentication tab, configure the following areas:
|
||
| Step 6 |
Click Next: Networking to advance to the Networking tab. 
|
||
| Step 7 |
In the Networking tab, configure the following areas:
|
||
| Step 8 |
Click Next: Integration, then Next: Tags, to advance through those screens without changing any of the default entries, then click Next: Review+Create. |
||
| Step 9 |
In the Review+Create window, click Create, then click Create again after the validations pass to create the Kubernetes cluster. You will see the message 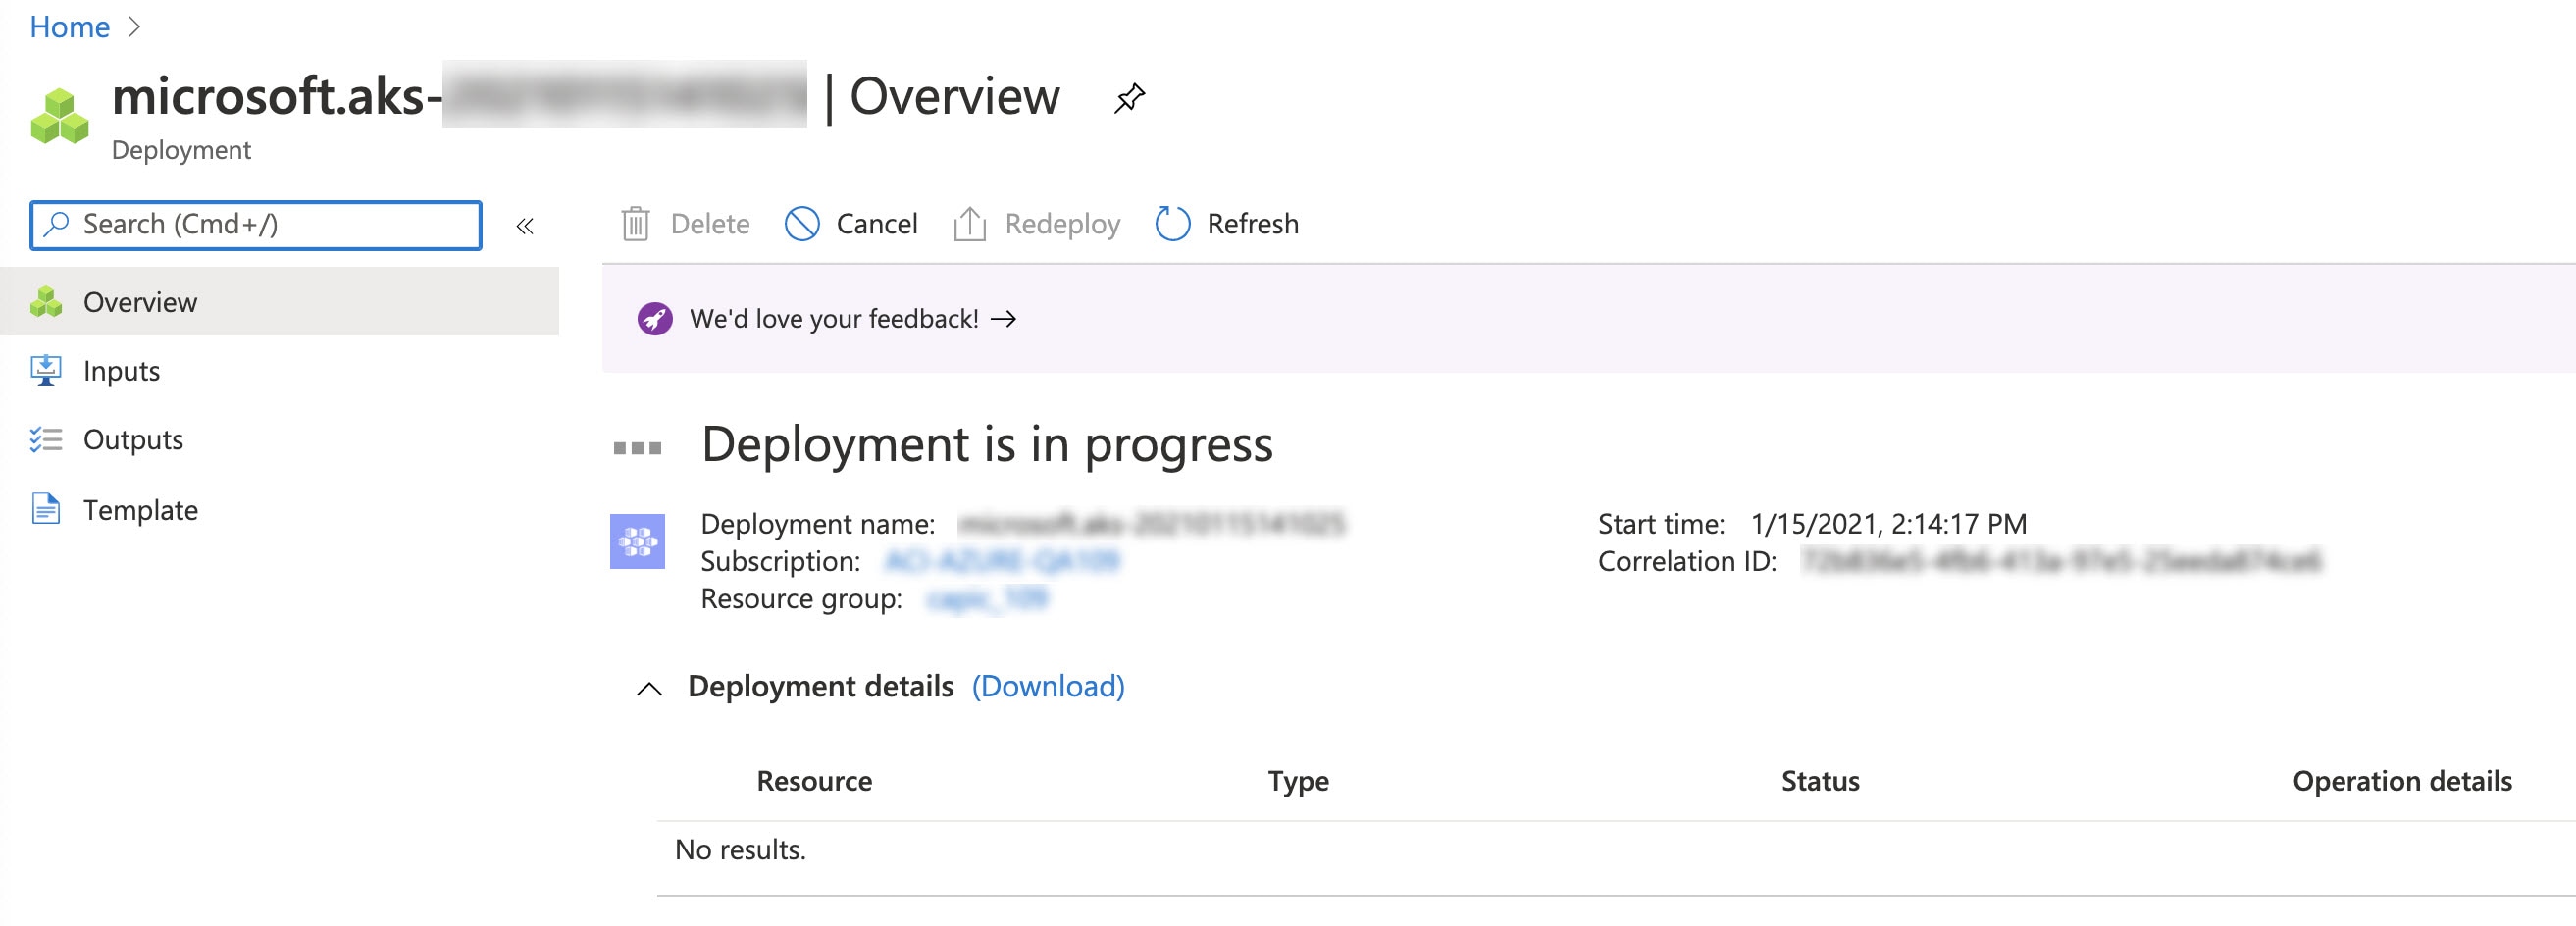
Wait until the Kubernetes service is deployed successfully before proceeding (the amount of time it takes to deploy varies). Once this process is completed, the main AKS service will be in your original resource group. Azure will also create an additional resource group specifically for the Kubernetes service, with all of the agentpools VM scales set. |
What to do next
Verifying the New Kubernetes Service
These procedures describe how to verify that the new Kubernetes service is in the resource group that was created specifically for the Kubernetes service.
Before you begin
Complete the procedures in Creating a Kubernetes Service before proceeding with these procedures.
Procedure
| Step 1 |
In the Azure portal, click on Resource groups in the left nav bar to navigate to the resource groups page. |
| Step 2 |
In the Resource groups page, locate the resource group that was created specifically for the Kubernetes service and click the link for that resource group. The resource group created specifically for the Kubernetes service will have the following format:
Where:
For example:
The Overview page for the Kubernetes service resource group appears. |
| Step 3 |
Locate the line for the Virtual machine scale set and click on that link. This is where the AKS agent is running. 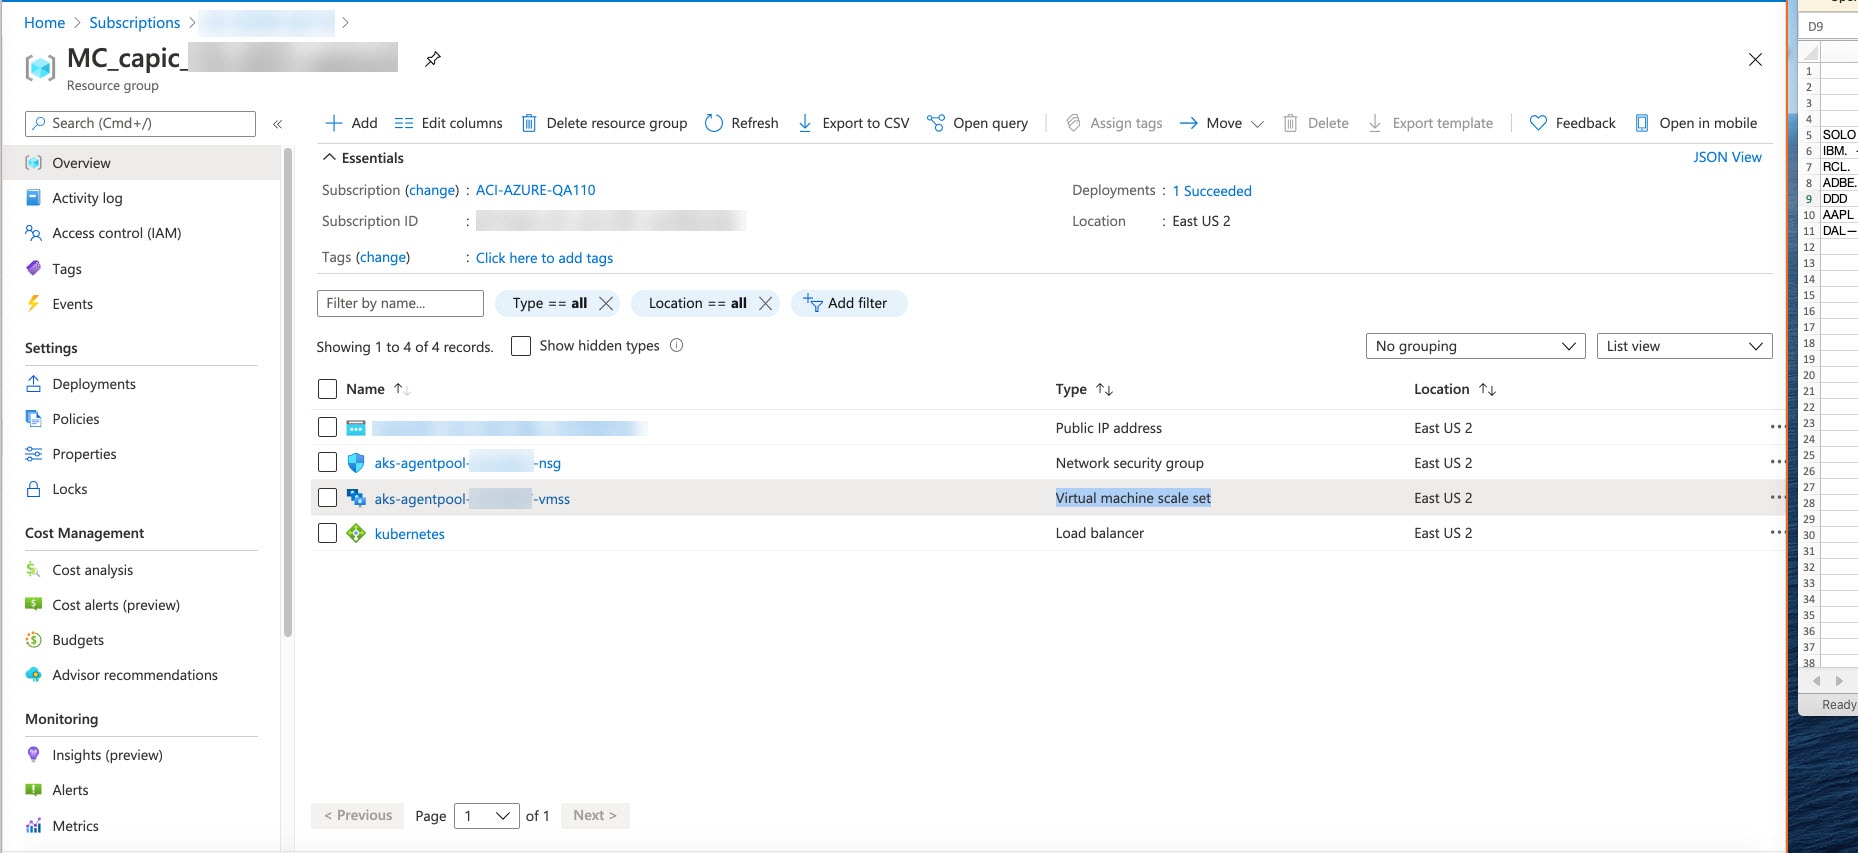
|
| Step 4 |
In the left nav bar, click on Instances to display the virtual machine instances for this Kubernetes service resource group. 
|
| Step 5 |
Click on any of the three instances in this window, then verify that the IP address shown in the Private IP address field matches your hub subnet IP address. All three instances shown in this window should have an IP address from the subnet that you selected in Step 7 in Creating a Kubernetes Service. 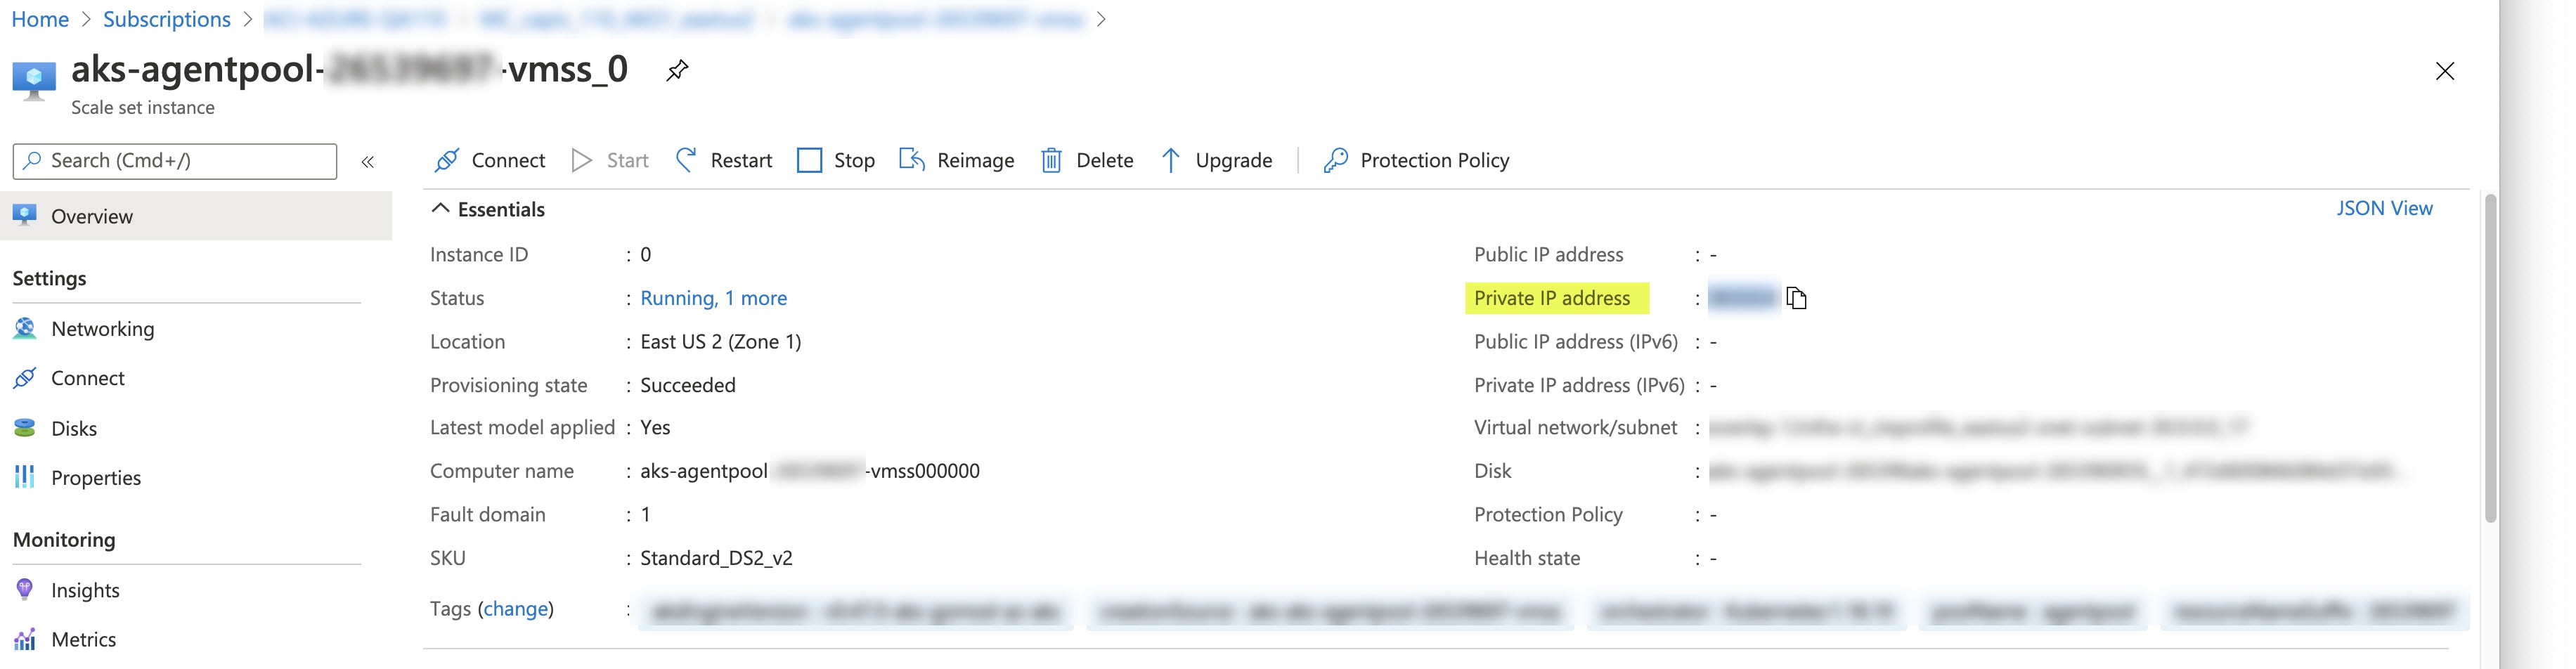
|
| Step 6 |
Navigate back to the Overview page for the Kubernetes service resource group, then locate the The Overview page for the Kubernetes load balancer appears. |
| Step 7 |
In the left nav bar, click Backend pools to view the AKS agents. 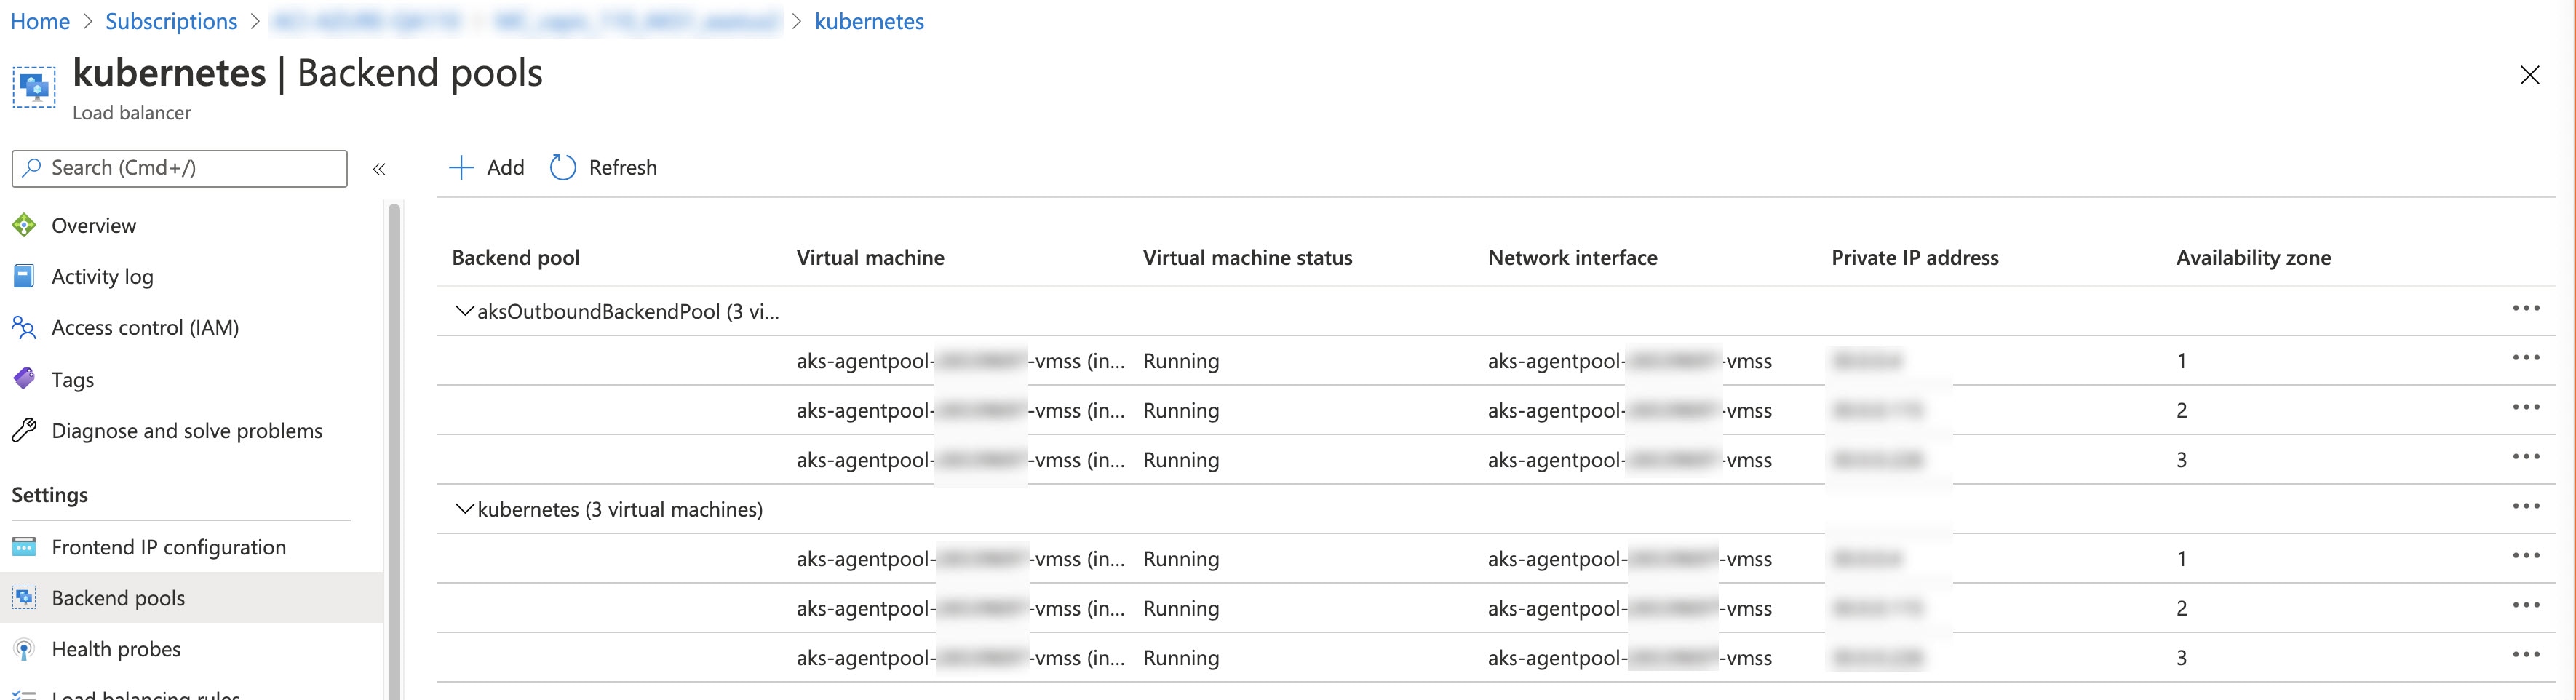
|
| Step 8 |
If a virtual machine was created as part of the process of configuring the contract (for example, if a virtual machine was created for the consumer), and if you have AKS as the provider, verify that the rules were configured correctly. |
What to do next
Installing the Azure and AKS CLI
These procedures describe how to install the Azure and AKS CLI.
Before you begin
Complete the procedures in Verifying the New Kubernetes Service before proceeding with these procedures.
Procedure
| Step 1 |
On the consumer VM that has internet access, install the Azure CLI. For more information, see: https://docs.microsoft.com/en-us/cli/azure/install-azure-cli-linux For example, to install the Azure CLI in an Ubuntu Linux VM in Azure: |
||
| Step 2 |
Download and install kubectl, the Kubernetes command-line tool, and kubelogin, a client-go credential (exec) plugin implementing azure authentication: |
||
| Step 3 |
Log in with the service principle information that you entered in Step 5 in Creating a Kubernetes Service in these procedures: Where:
For example: |
||
| Step 4 |
Set a subscription to be the current active subscription. Where <AKS_rg_subscription_ID> is the subscription ID of the resource group that Azure created for the Kubernetes service in Verifying the New Kubernetes Service. For example: |
||
| Step 5 |
From the consumer VM, enter the following to log in and connect to AKS. Where:
For example: A message similar to the following appears: |
||
| Step 6 |
Check the internal IP addresses of each of the nodes. Output similar to the following appears: 
The IP addresses listed in the
|
||
| Step 7 |
(Optional) Assign an admin role to a new user, if necessary. |
 Feedback